
How to Do 15 stunning White French Nails: A Step-by-Step Guide
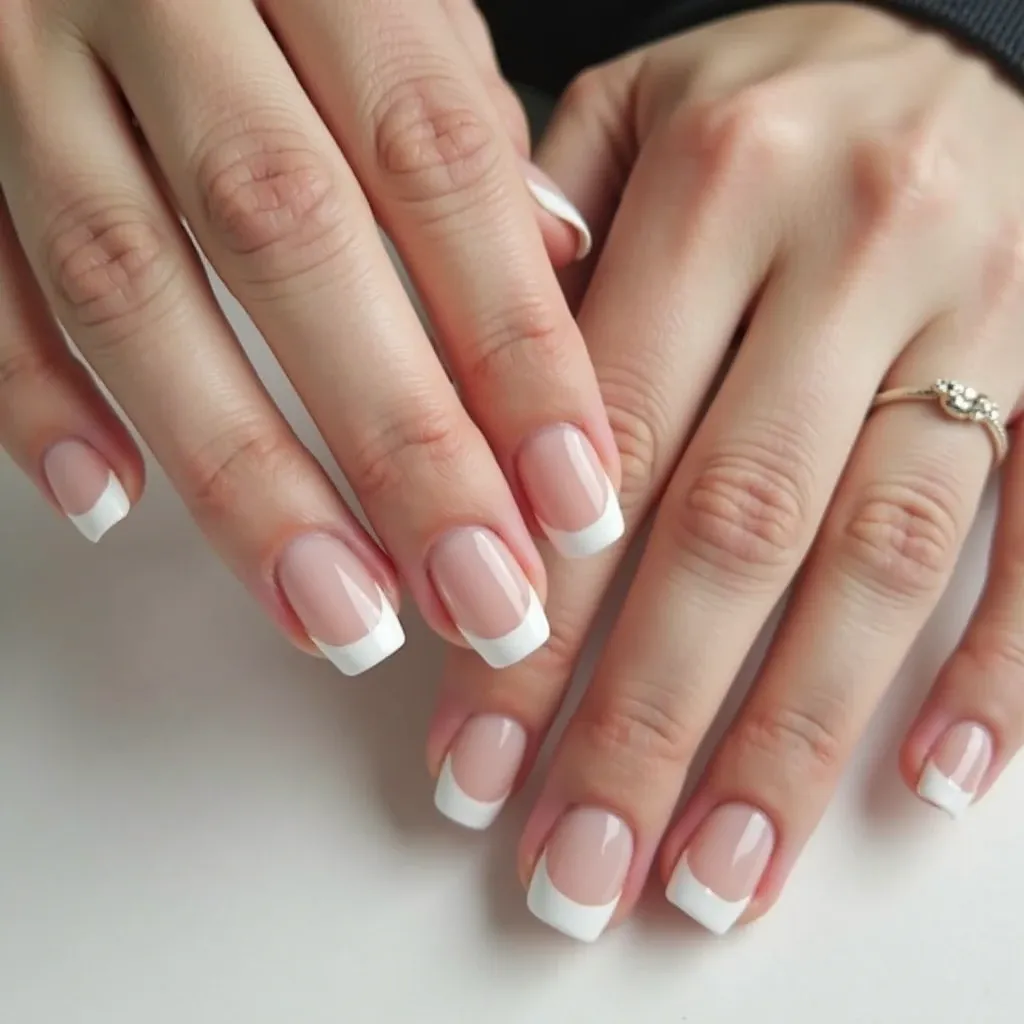
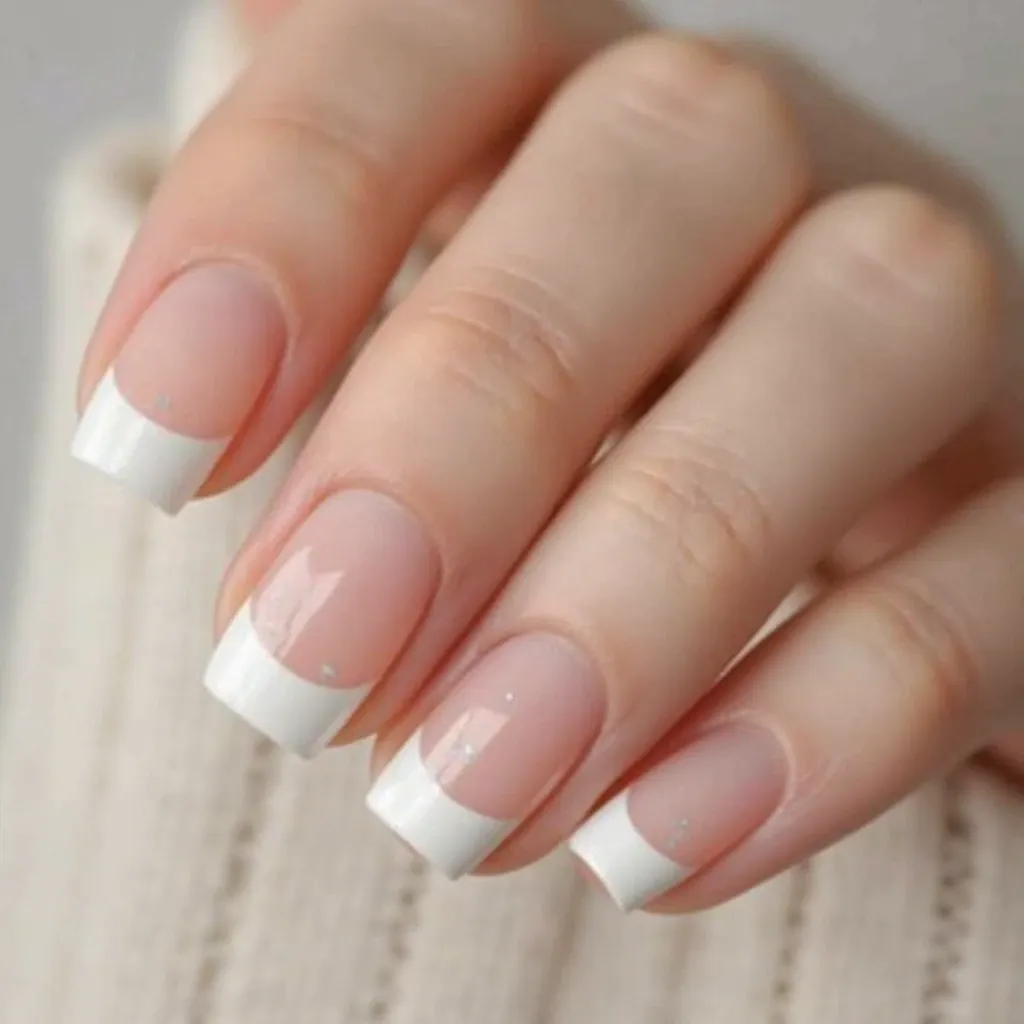
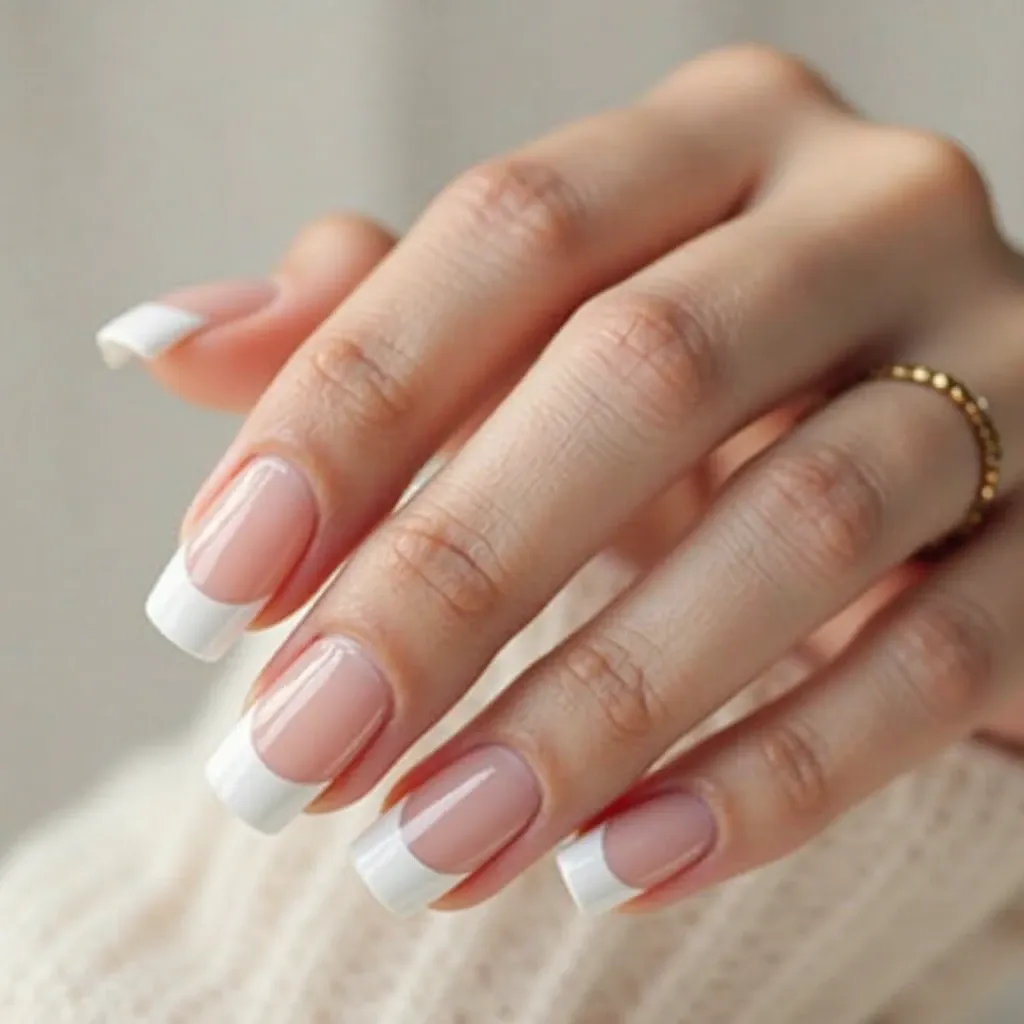
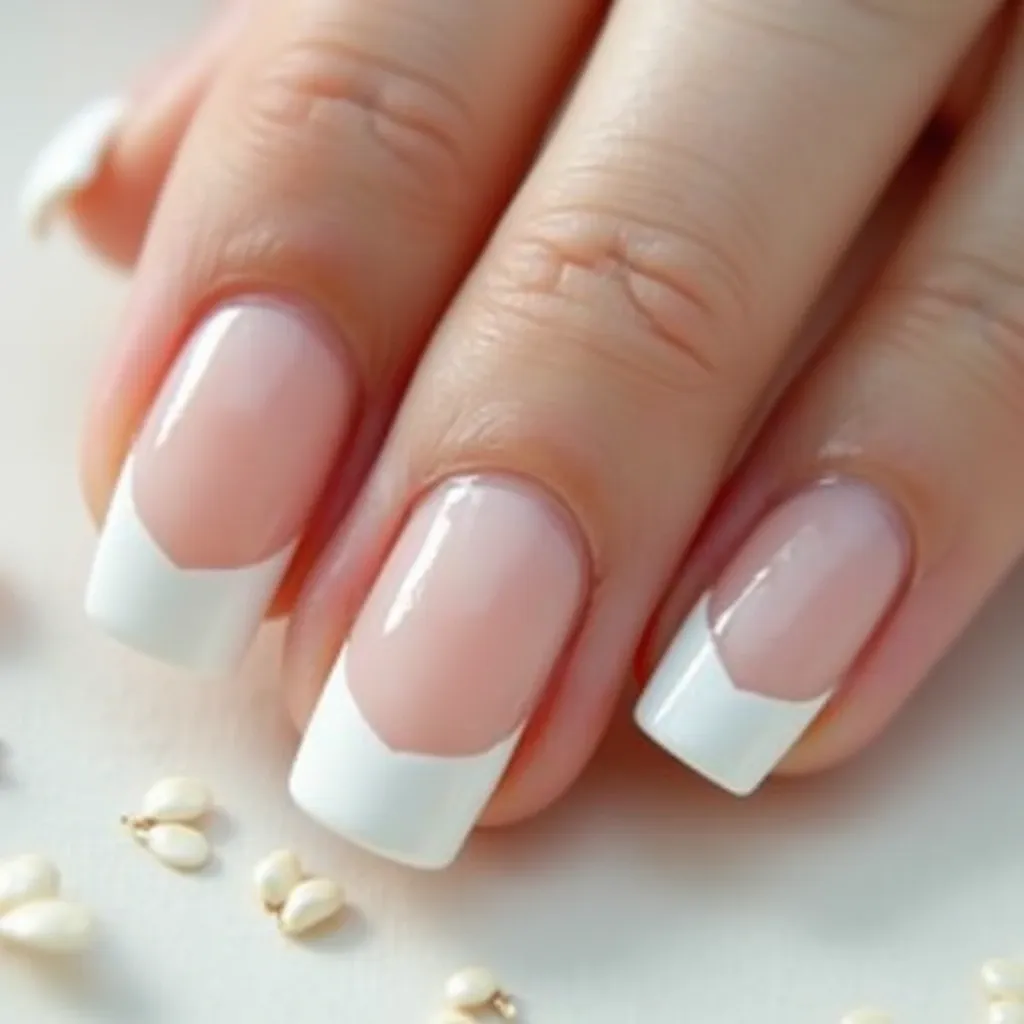
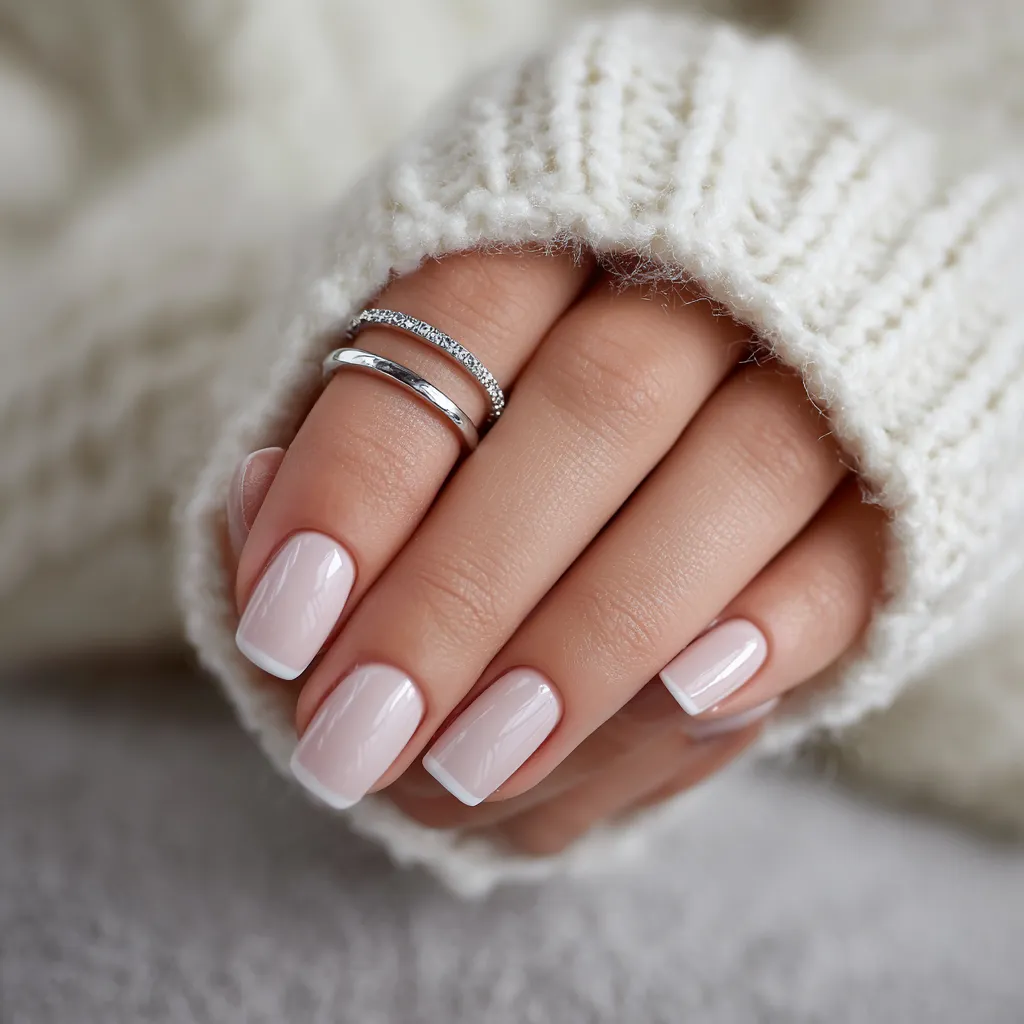
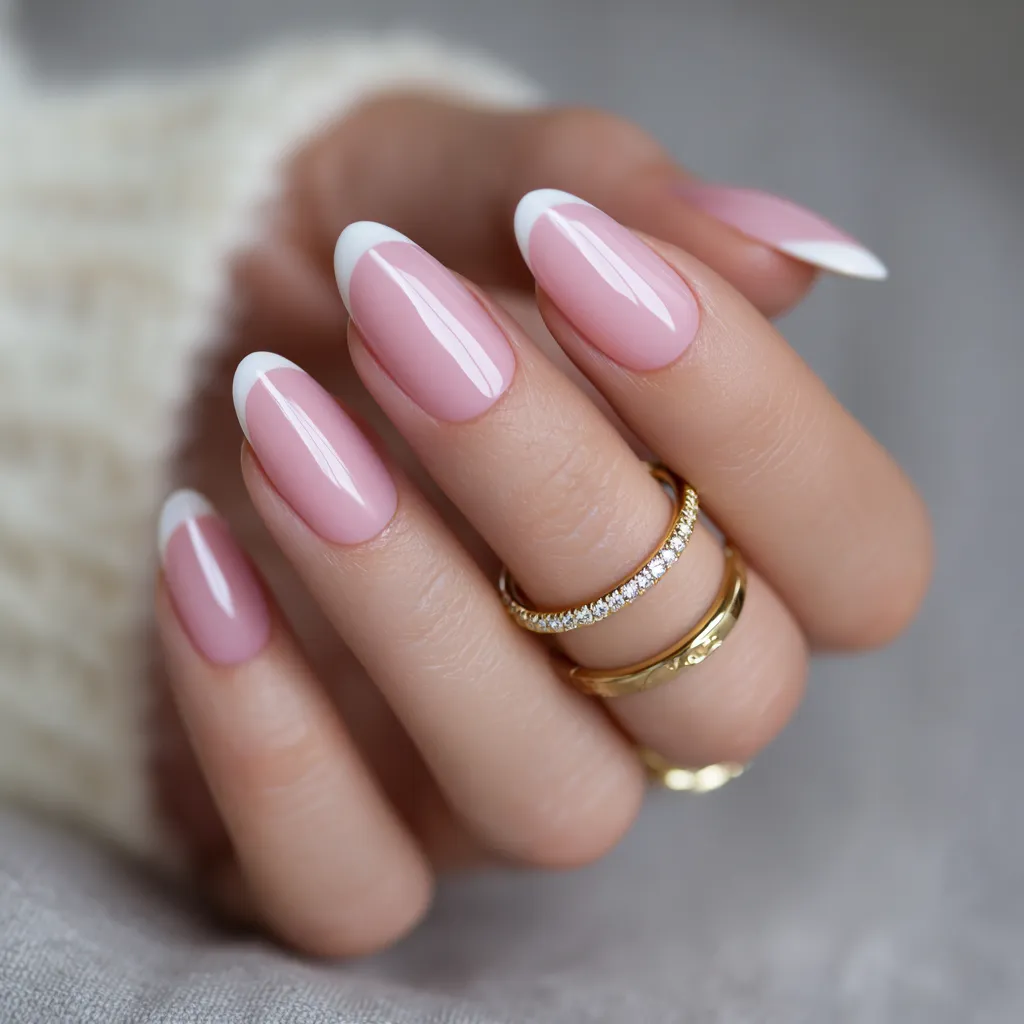
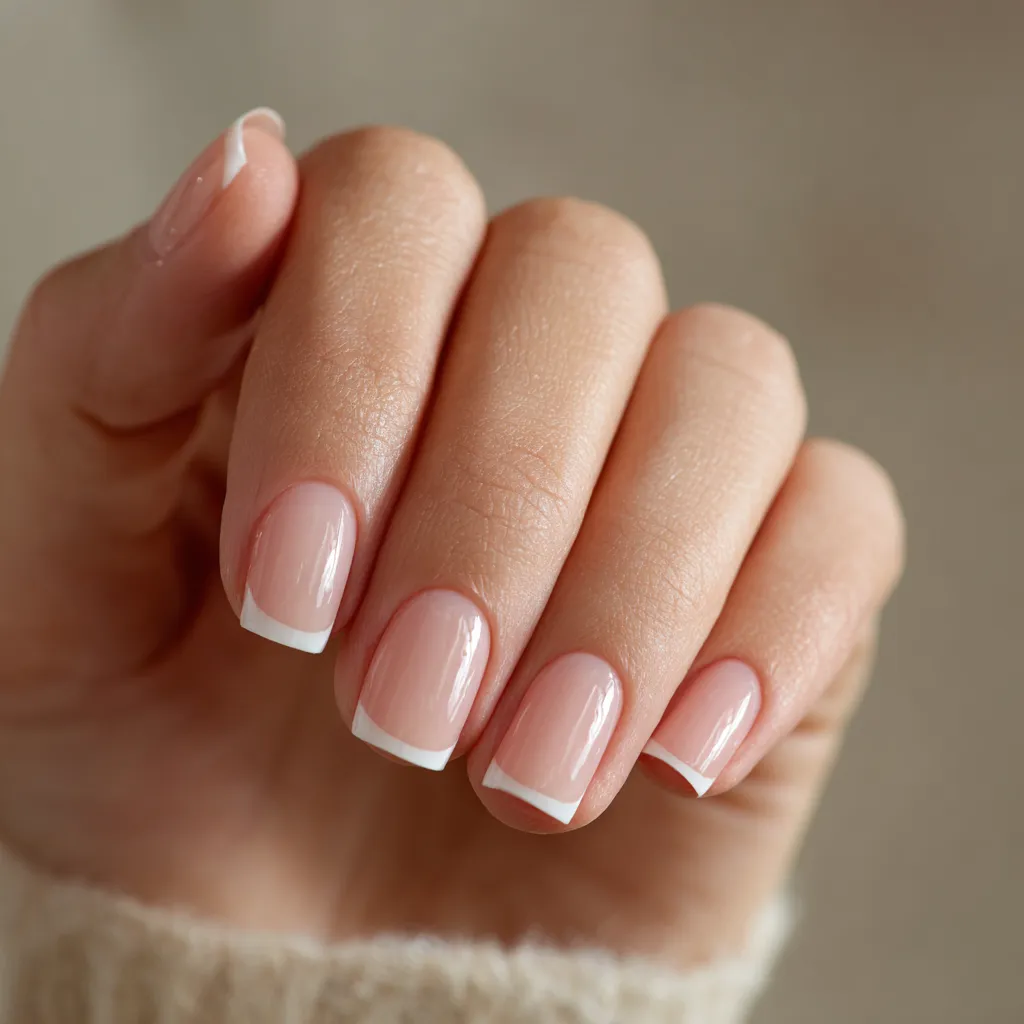
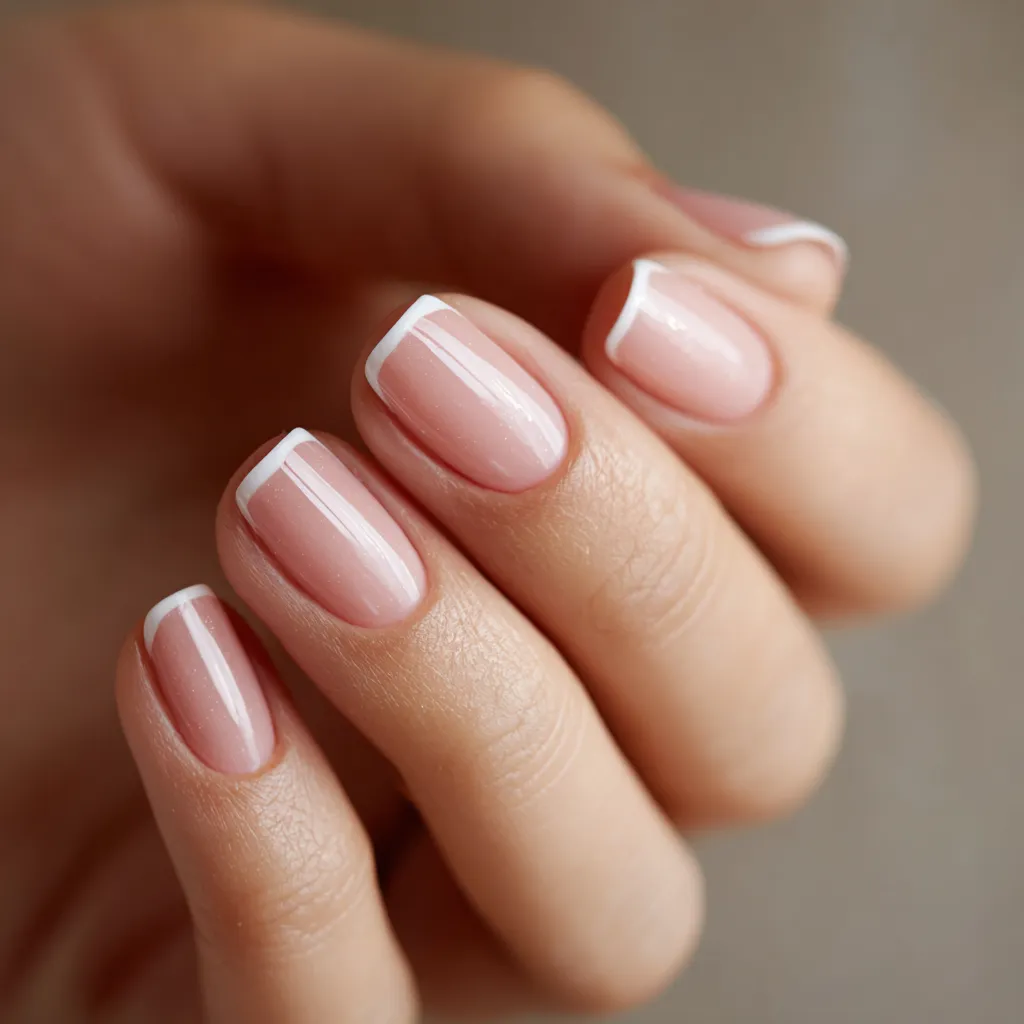
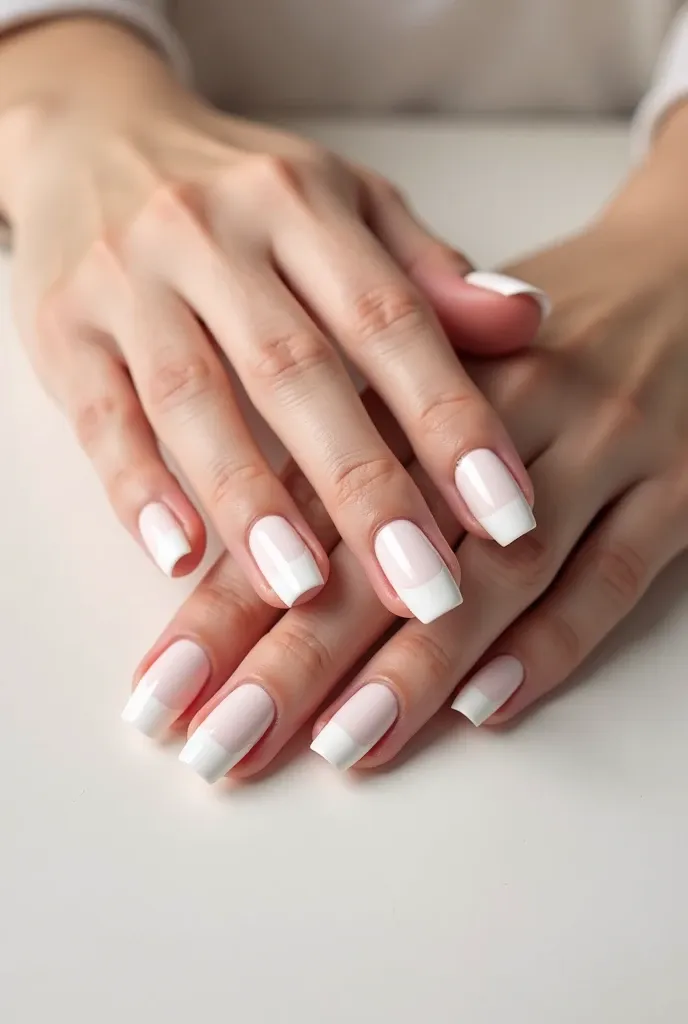
Discover the Timeless Elegance of White French Nails
There’s something uniquely graceful about white French nails. That clean, crisp white tip combined with a soft base brings a level of sophistication that never goes out of style. Whether you’re aiming to enhance your natural beauty or prepping for an important event, mastering white French nails can become your secret weapon. This step-by-step guide is crafted just for you, to help you achieve those flawless, Instagram-worthy nails right from your own home.
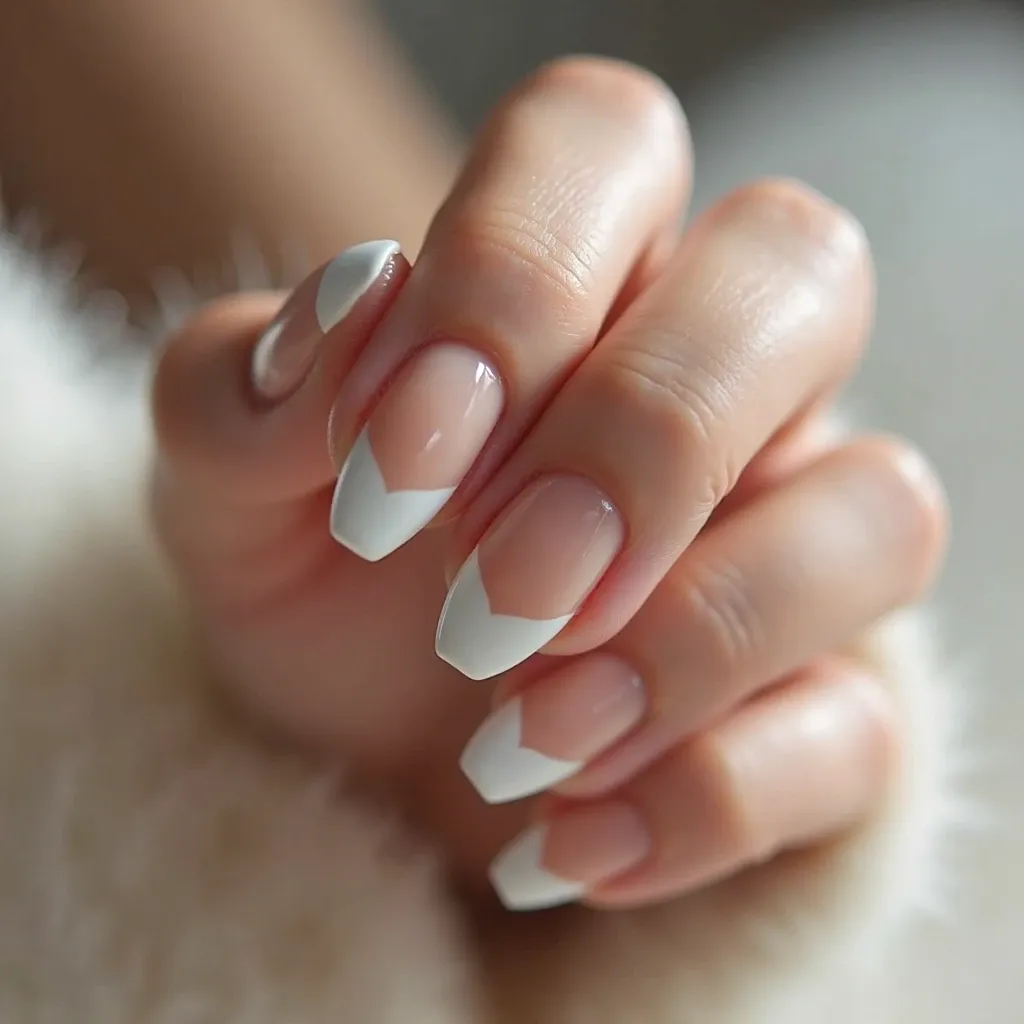
Table of Contents
What Are White French Nails and Why Are They So Popular?
A Quick Look at the French Manicure History
You might be surprised to learn that the French manicure wasn’t born in France. It actually took off in Hollywood during the 1970s, created by Jeff Pink, the founder of Orly. The goal was simple: develop a nail style that goes with any outfit on set. What emerged was the iconic white-tipped manicure that mimics healthy, polished nails.
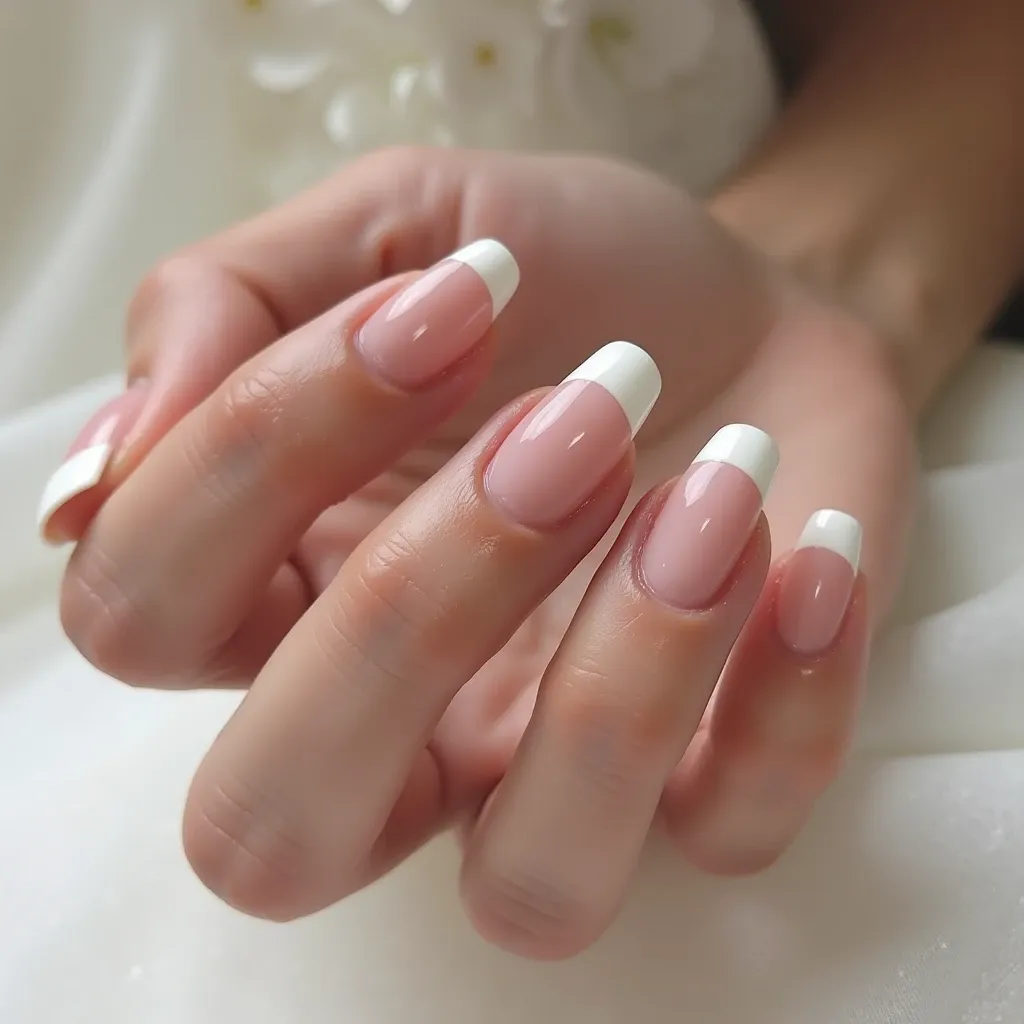
Why Choose White French Nails?
- They look effortlessly chic and professional.
- They complement all styles, from casual jeans to bridal gowns.
- You can easily do them yourself with a bit of practice.
- They offer room for creativity, like glitter tips or geometric shapes.
Whether you’re attending a wedding, an interview, or a weekend brunch, this look blends in seamlessly while standing out in elegance.
Tools and Products You’ll Need for a Perfect White French Manicure
Before diving into polish, make sure your toolkit is ready. The right tools make all the difference.
Must-Have Supplies:
- Nail file and buffer
- Cuticle pusher and nipper
- Base coat
- Sheer pink or nude polish
- White polish for tips
- French tip guides or striping tape
- Top coat (glossy or matte)
- Nail polish remover
- Cotton pads or Q-tips
- Optional: UV/LED lamp (for gel polish)
Pro Tip:
Choose salon-grade polish to avoid streaks and chips. Brands like OPI, Essie, or Sally Hansen offer quality with lasting power.

How to Do White French Nails Step-by-Step (Beginner-Friendly)
Step 1 – Prepare Your Nails

Before applying polish, give your nails a solid foundation.
- Remove any old polish using acetone-free remover.
- Soak your fingers in warm, soapy water for 5–10 minutes.
- Gently push back cuticles using a wooden stick or metal tool.
- Clip any excess skin or hangnails.
- File your nails into your preferred shape (square, almond, oval).
- Buff the surface to create a smooth, even base.

Step 2 – Apply a Base Coat
This step protects your natural nail and keeps your manicure from staining or chipping.
- Use a clear base coat to strengthen and prime the nails.
- Let it dry completely before moving on.
Step 3 – Apply a Sheer Base Color
The classic French manicure base is a translucent pink or beige.
- Apply one thin coat.
- Wait until it dries and apply a second if needed.
- Avoid thick layers to reduce smudging or bubbles.
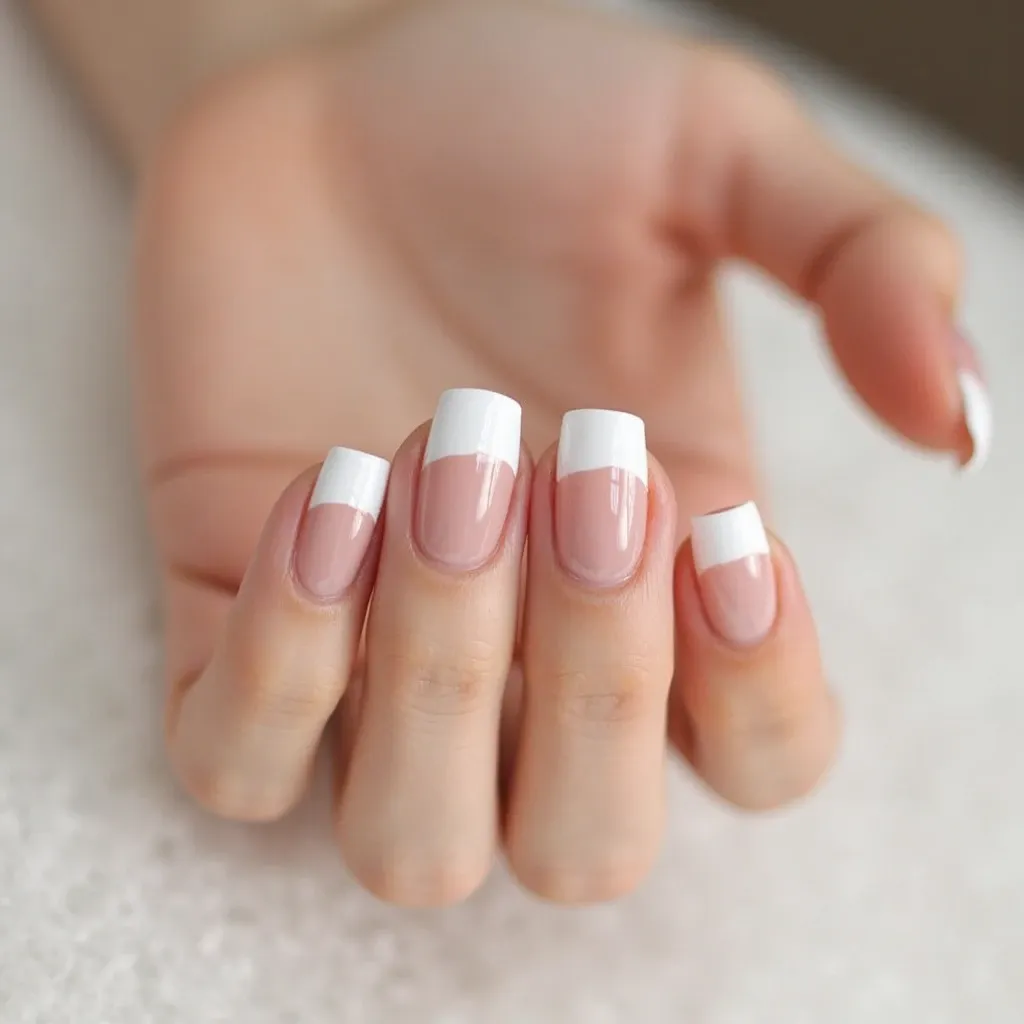
Step 4 – Paint the White Tips
This is the signature part of your French manicure.
- Use nail tip guides for accuracy if you’re a beginner.
- Paint the tips using a steady hand and opaque white polish.
- Let it dry completely.
- Peel off the guides gently to reveal clean, straight lines.
Tip:
If you’re confident, try freehanding the tip with a fine brush.
Step 5 – Finish with a Top Coat
This seals your look and gives that coveted shine.
- Apply a single thin layer of top coat over the entire nail.
- Be sure to cap the free edge to prevent premature chipping.
- Let it dry fully or cure under a UV/LED lamp if using gel polish.
Common Mistakes to Avoid When Doing White French Nails
Even the most seasoned DIYers can make small errors. Here’s what to steer clear of:
Don’t Skip Nail Prep
- Failing to clean and buff can lead to uneven polish and poor adhesion.
Thick Polish Layers
- Too much polish leads to bubbling and slow drying. Always layer thinly.
Uneven Tips
- If your hands shake, use tip guides or nail stencils.
Forgetting the Top Coat
- Skipping this step can make your polish dull and prone to chipping.
Pro Tips to Make Your White French Nails Last Longer
Want your manicure to last beyond a few days? Use these techniques:
- Always seal the free edge with your top coat.
- Avoid hot water for the first 12 hours.
- Reapply top coat every 2-3 days for added shine and protection.
- Use cuticle oil to keep nails and skin hydrated.
- Wear gloves when doing household chores.
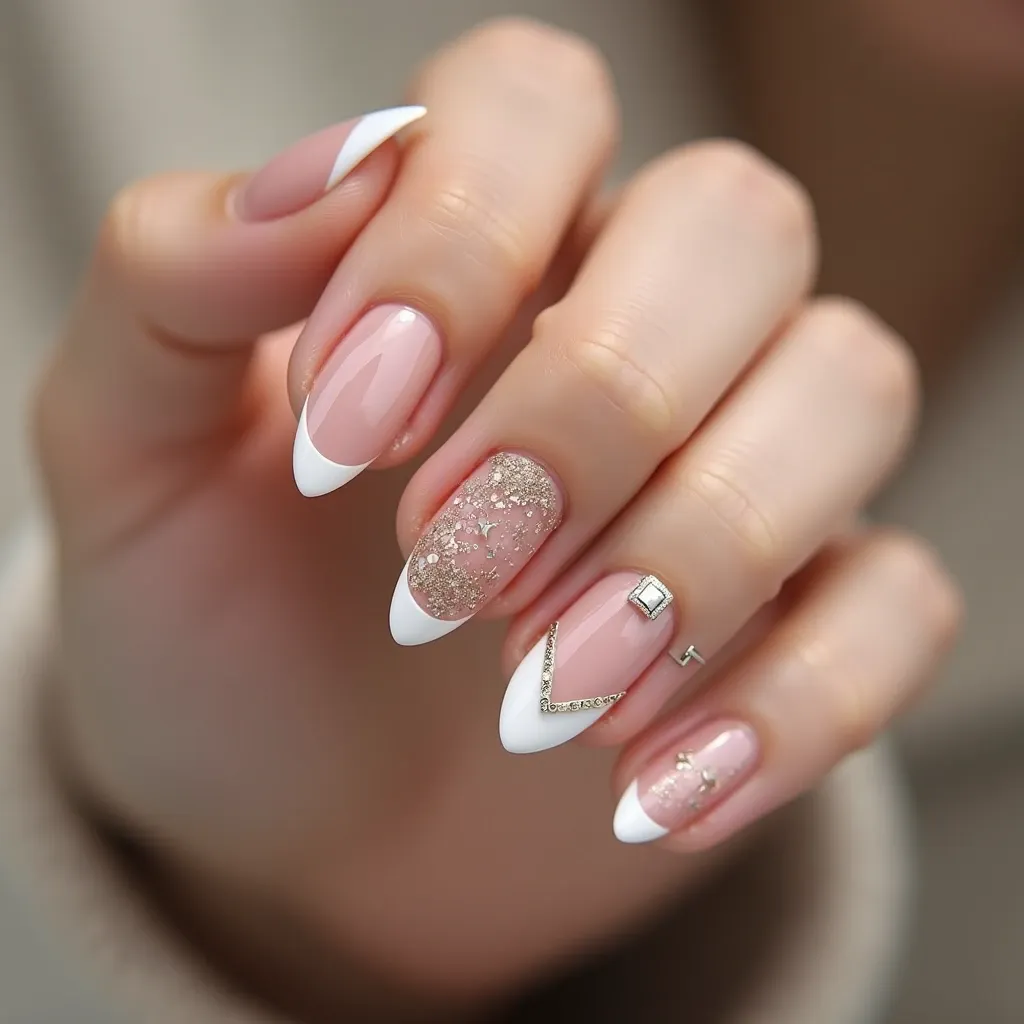
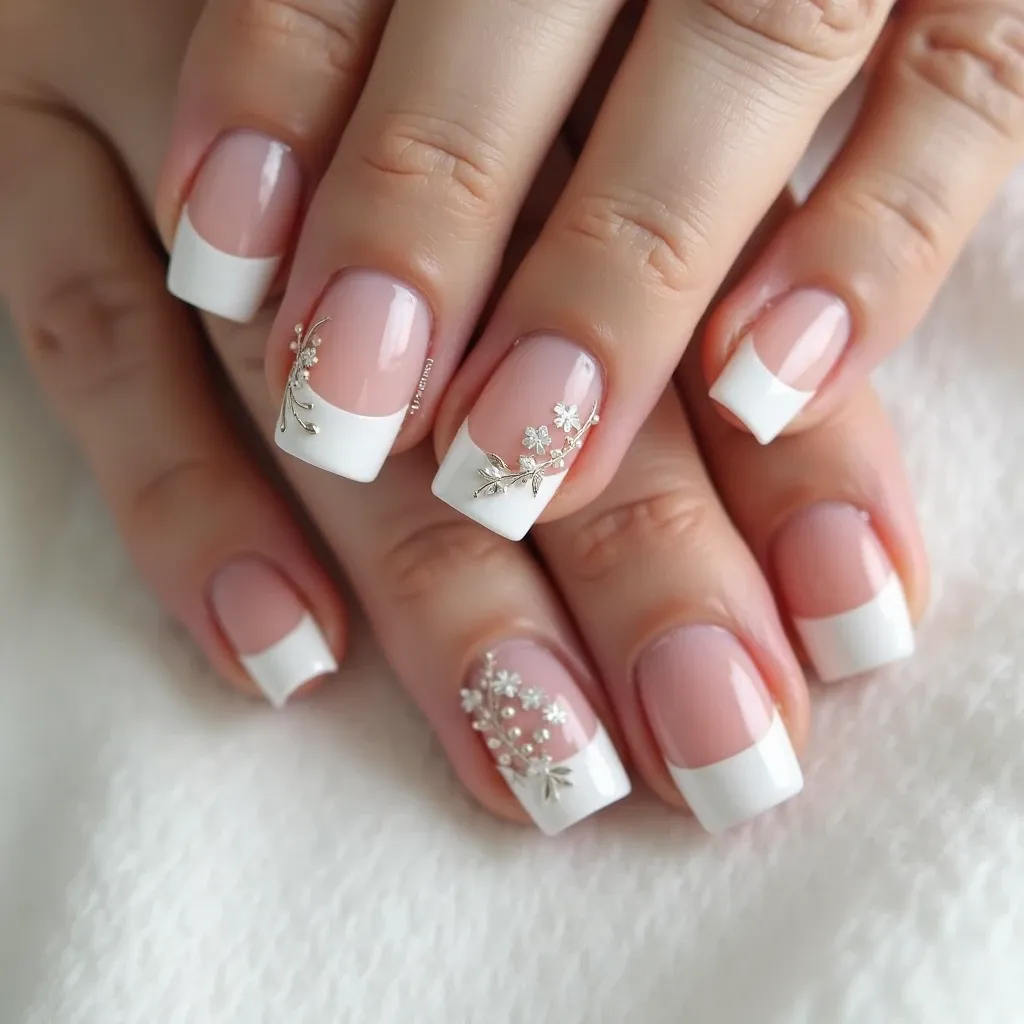
White French Nail Variations to Try
When you’re ready to level up, these creative spins on the classic French tip can refresh your look:
Creative French Nail Designs
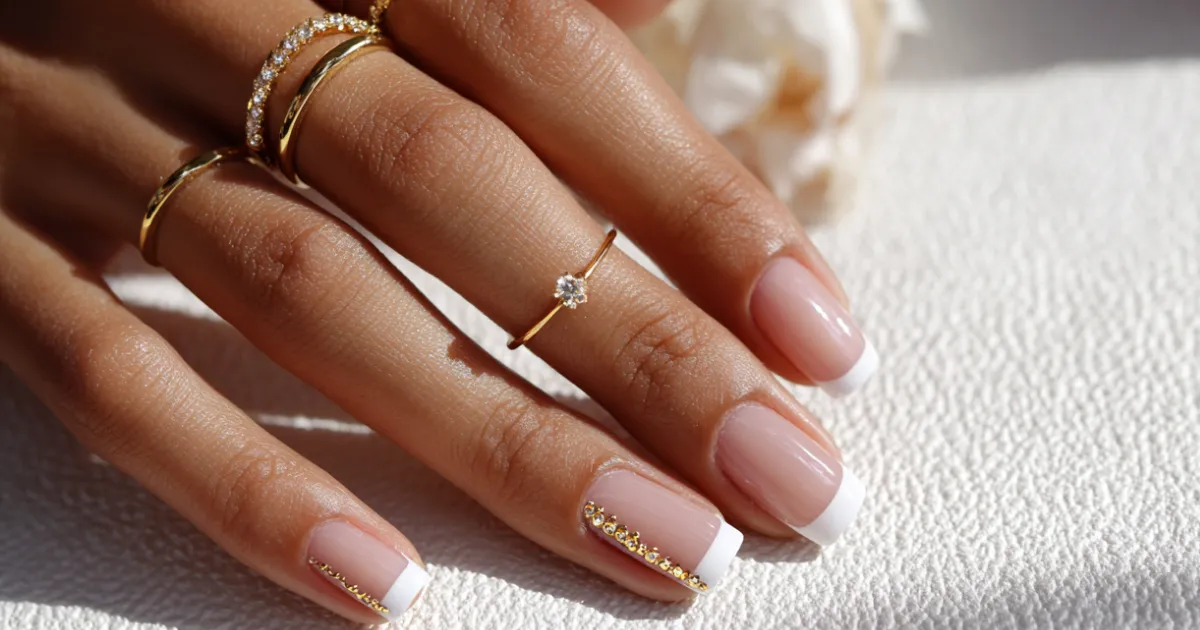
- Glitter Tips: Perfect for bridal looks or parties.
- Metallic Edges: Add a touch of gold or silver.
- V-Tips: Swap the straight line for a subtle V shape.
- White Ombré: Blend the white tip into the nude base.
- Rhinestones: Accentuate with tiny crystals for glam appeal.
Nail Shapes That Work Best
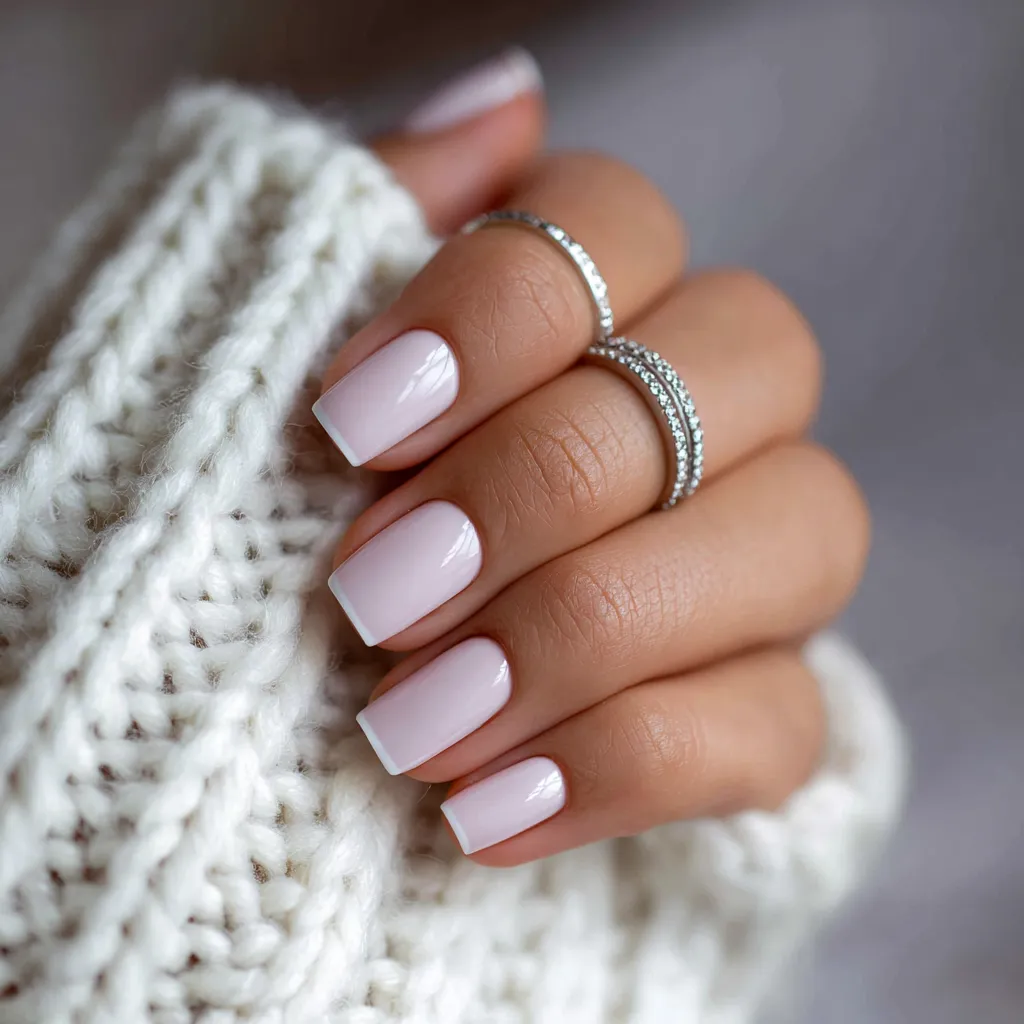
- Square: Traditional and perfect for French designs.
- Almond: Elongates the fingers for a feminine look.
- Coffin/Ballerina: Adds drama and elegance.
- Oval: Natural and classic.
Frequently Asked Questions About White French Nails
How long do white French nails last?
With regular polish, expect about 7–10 days. Gel manicures can last up to 3 weeks.
Can I do French nails without guides?
Yes! With practice and a thin brush, you can master freehand tips. For now, tip guides help build confidence.
What’s the best white polish for French tips?
Look for brands that offer strong opacity and fast drying. Top choices include:
- OPI “Alpine Snow”
- Essie “Blanc”
- Sally Hansen “White On”
Are French nails only for long nails?
No. You can absolutely rock this style on short nails. Just keep the white tip thinner for proportion.
Do I need special equipment?
Only if you’re using gel polish. Regular polish requires no UV lamp.
Conclusion: Your Elegant White French Nails Are Within Reach
White French nails are more than just a beauty trend—they’re a lifestyle statement. Clean, confident, and endlessly versatile, they empower you to feel polished and prepared in any setting. Now that you know exactly how to achieve them step by step, there’s no reason not to give it a try.
Take a little time for yourself today. Set up your manicure space, gather your tools, and start painting. Your fingertips deserve that extra bit of care and sophistication.