
How to create 12 stylish black tip nails for a bold look
Dare to Go Bold – Why Black Tip Nails Are More Than Just a Trend
You’ve seen them—sharp, sleek black tips that add an instant edge to any outfit. Every time you glance down at your hands, they make you feel powerful, artsy, even a little daring. Maybe you’ve admired the look in passing, wondering if it’s within reach for you. The great news? It absolutely is. This guide gives you the tools and know-how to achieve black tip nails that not only turn heads, but also feel uniquely you.
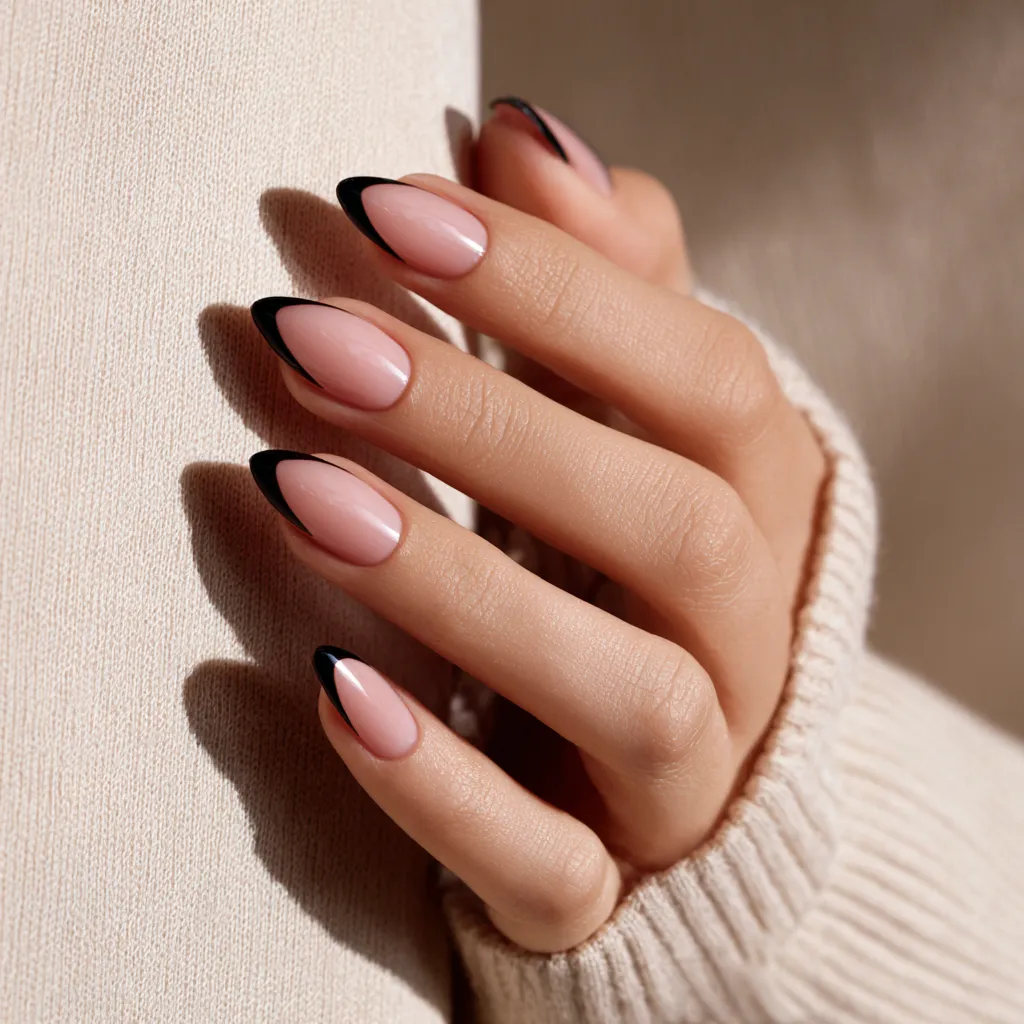
Table of Contents
What Are Black Tip Nails and Why They’re Trending Now
The Evolution of the French Tip
Originally, the French manicure featured clean white ends on natural bases, stemming from practical salon tricks in the ‘70s and ‘80s. Today, you’re free to break tradition. Black tip nails are a modern twist—cool, artistic, and full of attitude.
Why Black Tips Are In Vogue
- Instant contrast – Black and nude pairings pop visually.
- Gender-neutral chic – Works for everyone, regardless of style.
- Influencer-fueled trend – Celebrity quotes tout its boldness—Zendaya’s edgy switch being a perfect example.
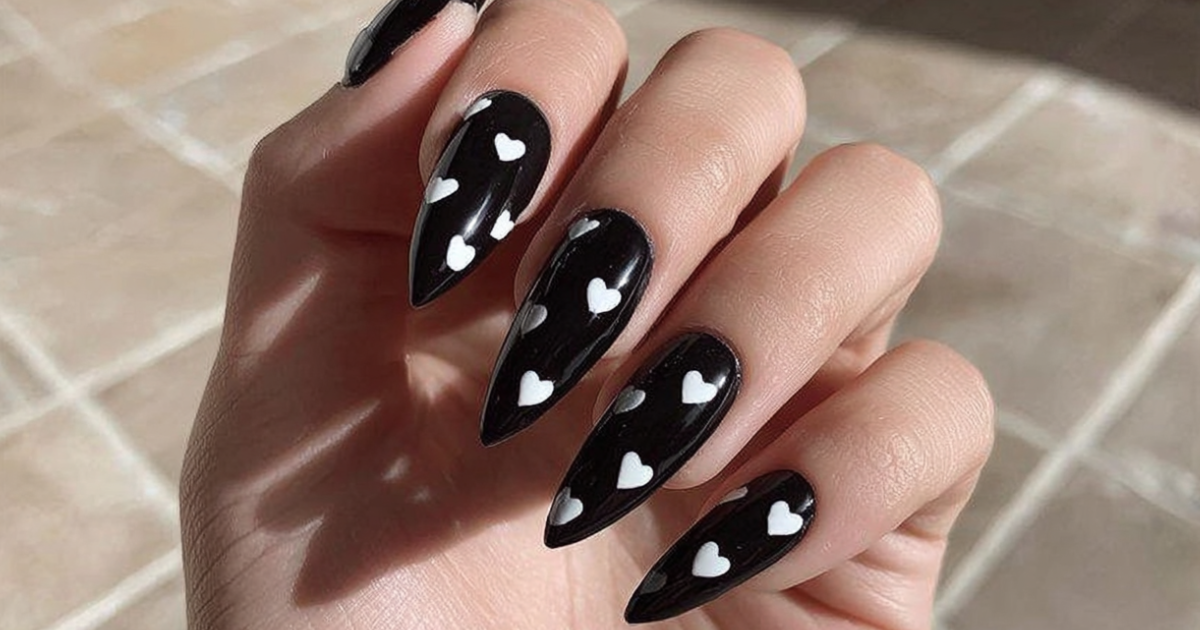
Types of Black Tip Nails
- Glossy vs. matte – Add shine or keep it velvety.
- Straight, curved, or diagonal – Customize based on taste.
- Minimal micro-tips – For those who prefer subtlety.

What You Need Before You Start – Tools & Products for Black Tip Nails
Here’s your essential kit for stunning black tip nails:
- Nail file & buffer
- Cuticle pusher & nippers
- Base coat
- Sheer pink/nude polish (for base coat)
- Black polish or gel
- Nail guides or fine nail art brush
- Top coat (glossy or matte)
- Nail polish remover & angled clean-up brush
Pro extras: Add gold foil, glitter, or rhinestones for flair.
Step-by-Step Guide: How to Create Stylish Black Tip Nails at Home
1. Shape and Prep Your Nails
- Clean nails thoroughly.
- File them into your preferred shape (almond, square, coffin, etc.).
- Push back cuticles and buff the nail surface.
- Wash hands to remove debris before painting.
2. Apply Base Coat
- A thin layer helps polish stick, stops staining.
- Remove any bubbles to ensure smooth finish.
3. Paint the Base Color
- Go for a neutral or sheer pink base.
- Let it dry completely—don’t rush this step.
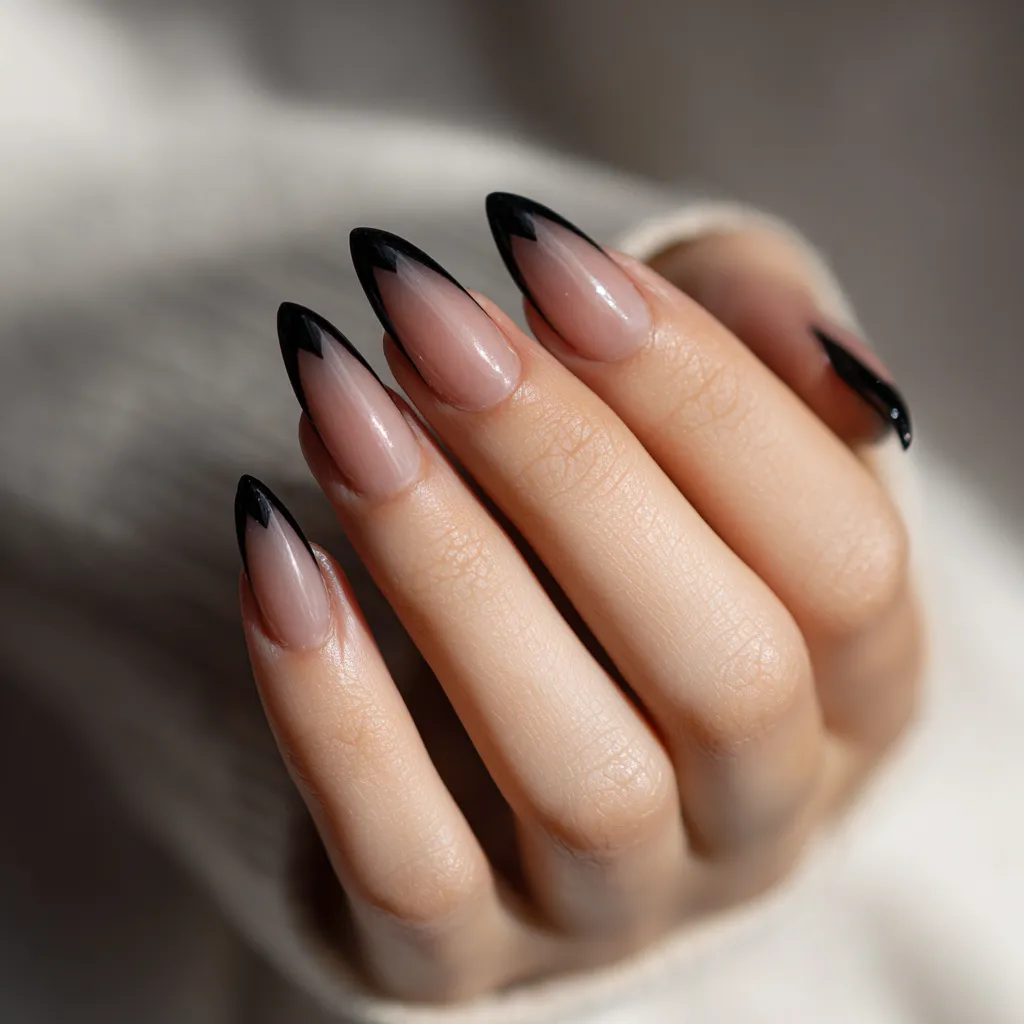
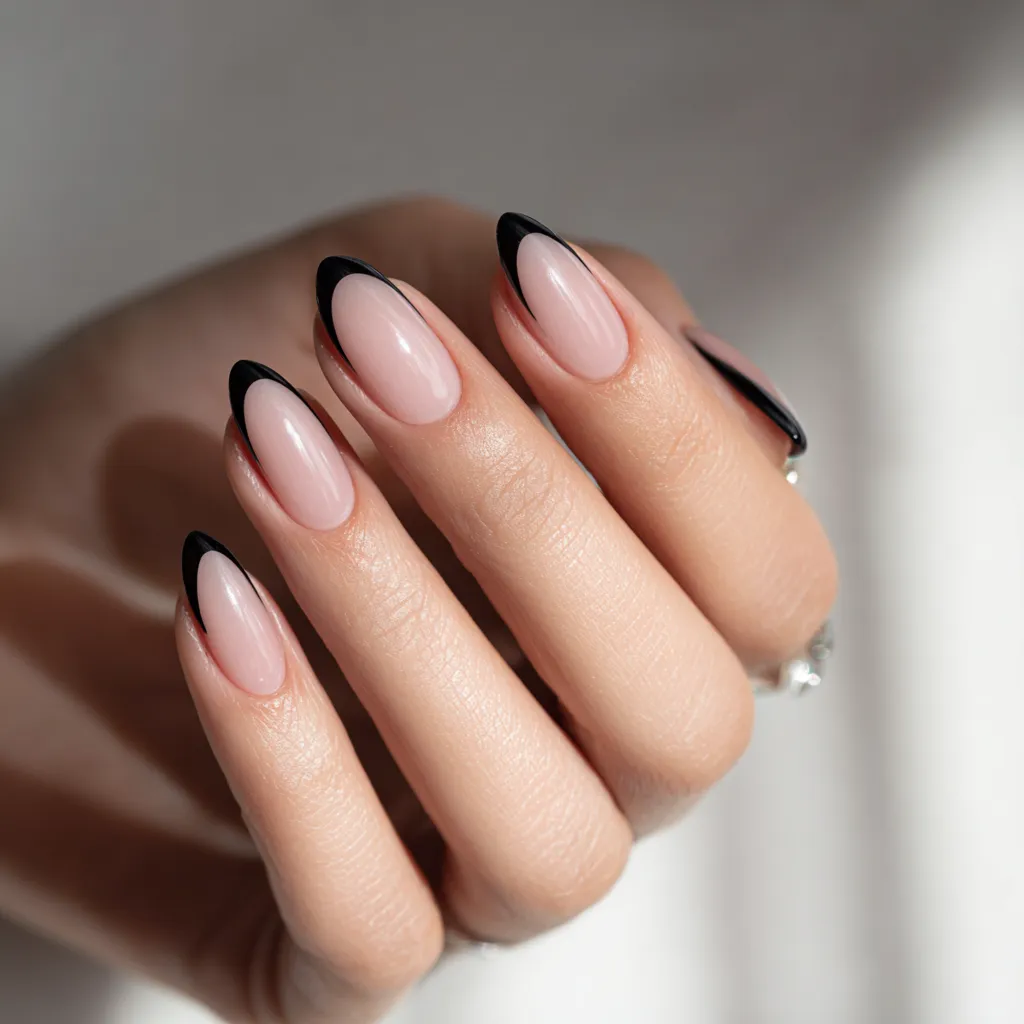
4. Create the Black Tip
Option A: Nail Guides
- Stick guides about ⅛” from the edge.
- Paint tip with black polish.
- Peel guides gently while polish is still wet.

Option B: Freehand Method
- Use a fine nail art brush.
- Rest your hand to minimize wobble.
- Paint in a steady single stroke.
Option C: Creative Shapes
Try diagonal, V-shaped, or even geometric tips for more personality.
5. Clean Up the Edges
- Use an angled brush dipped in remover to sharpen the black line.
- Work on a clean fingertip without smudging your base.
6. Apply Top Coat
- Choose glossy for shine, matte for stealth.
- Seal all edges well so black doesn’t chip away.
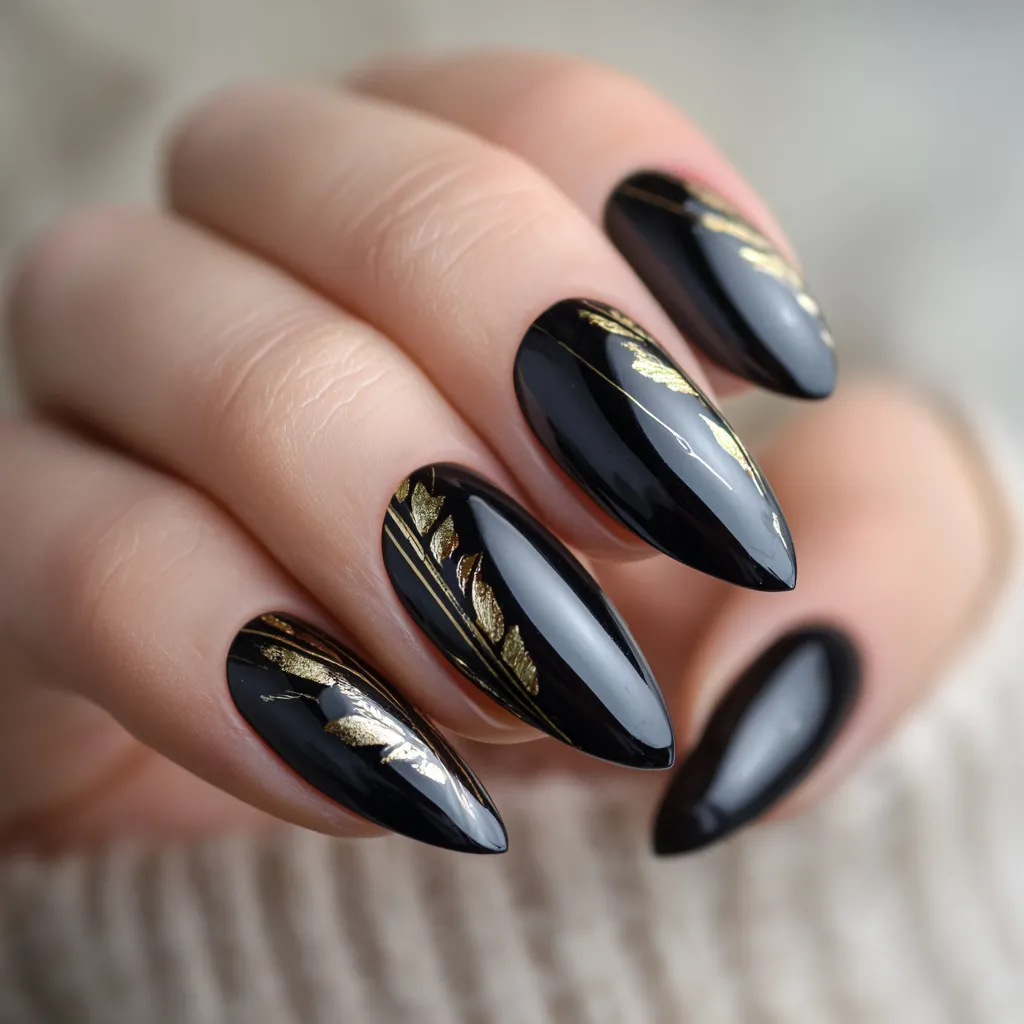
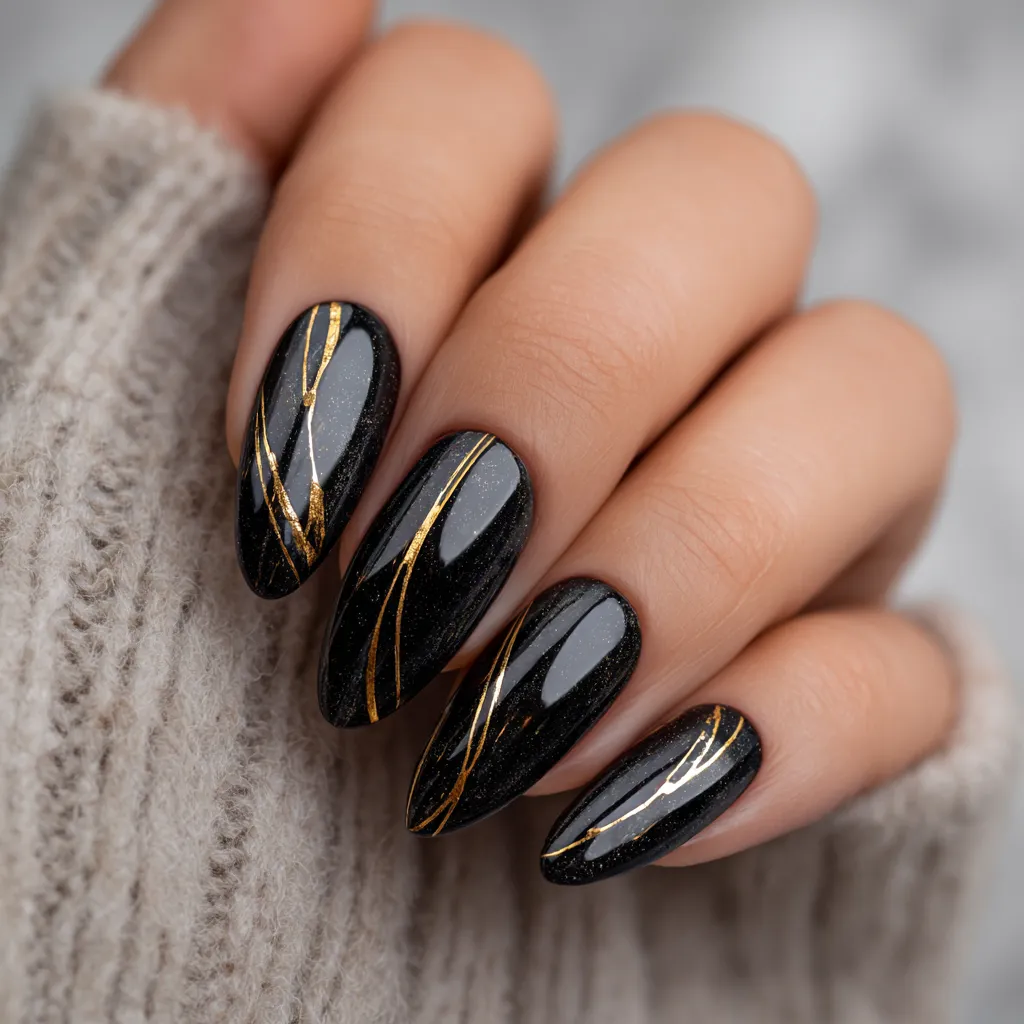
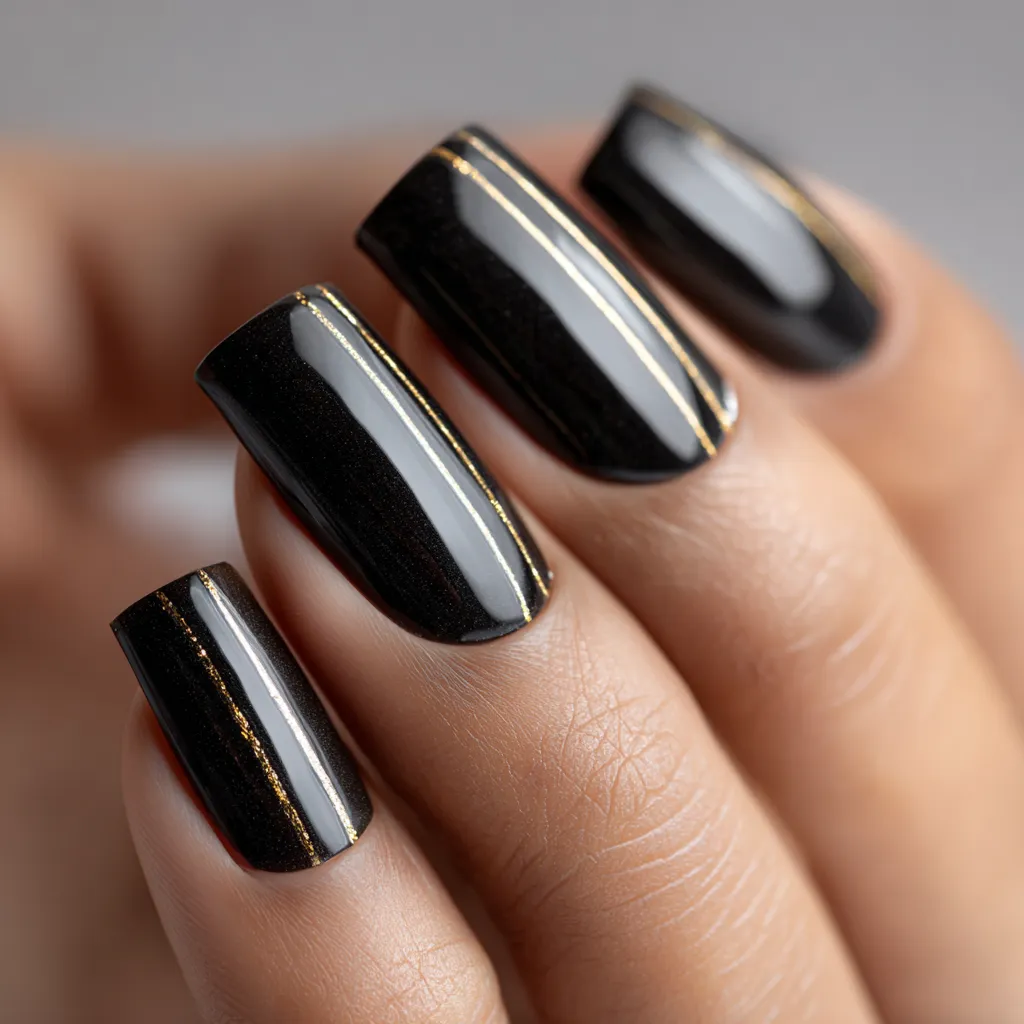
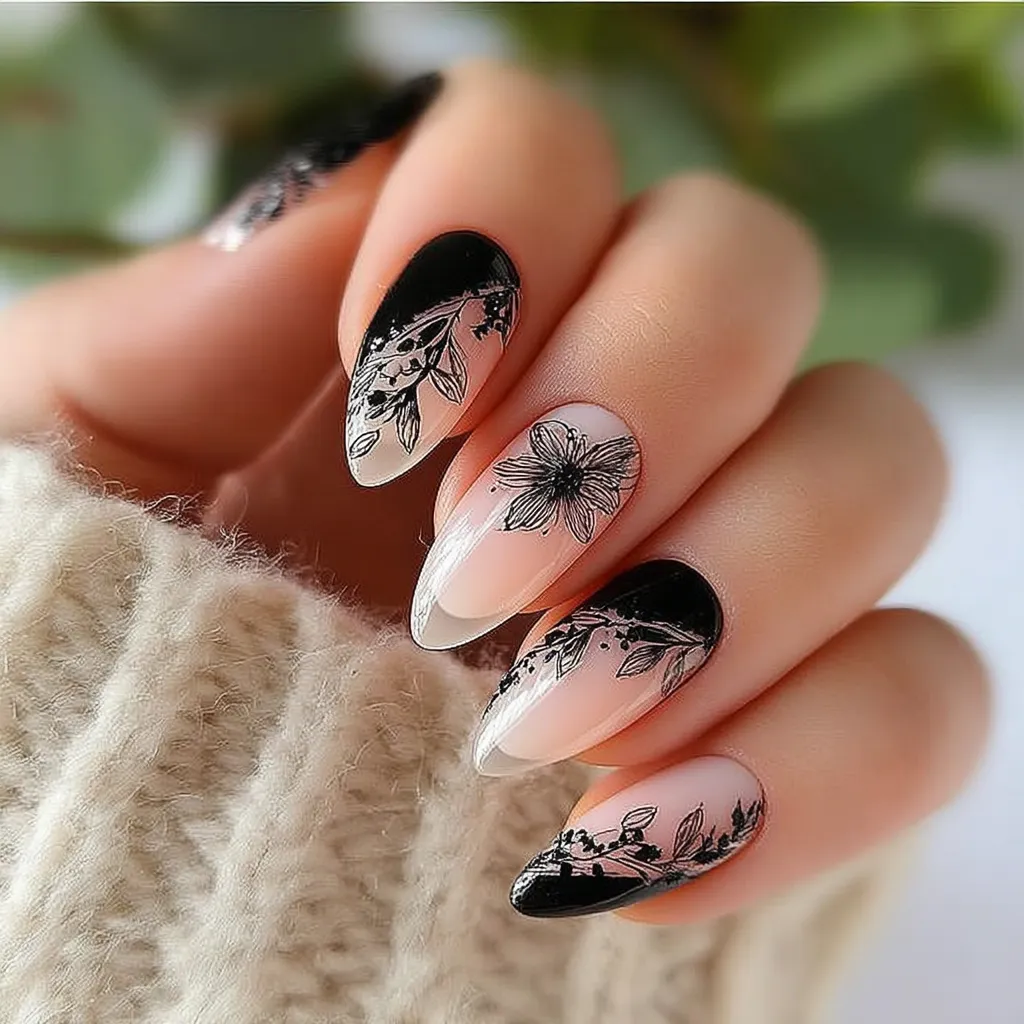
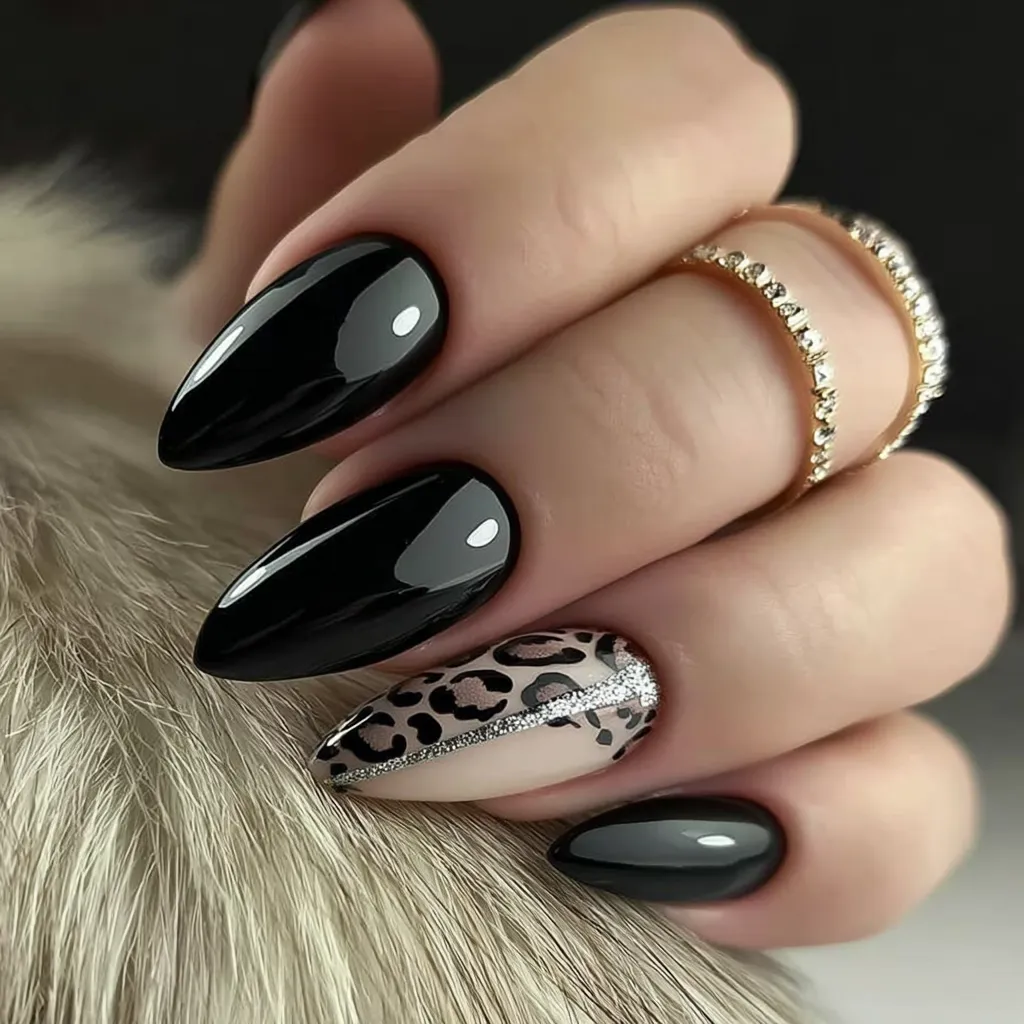
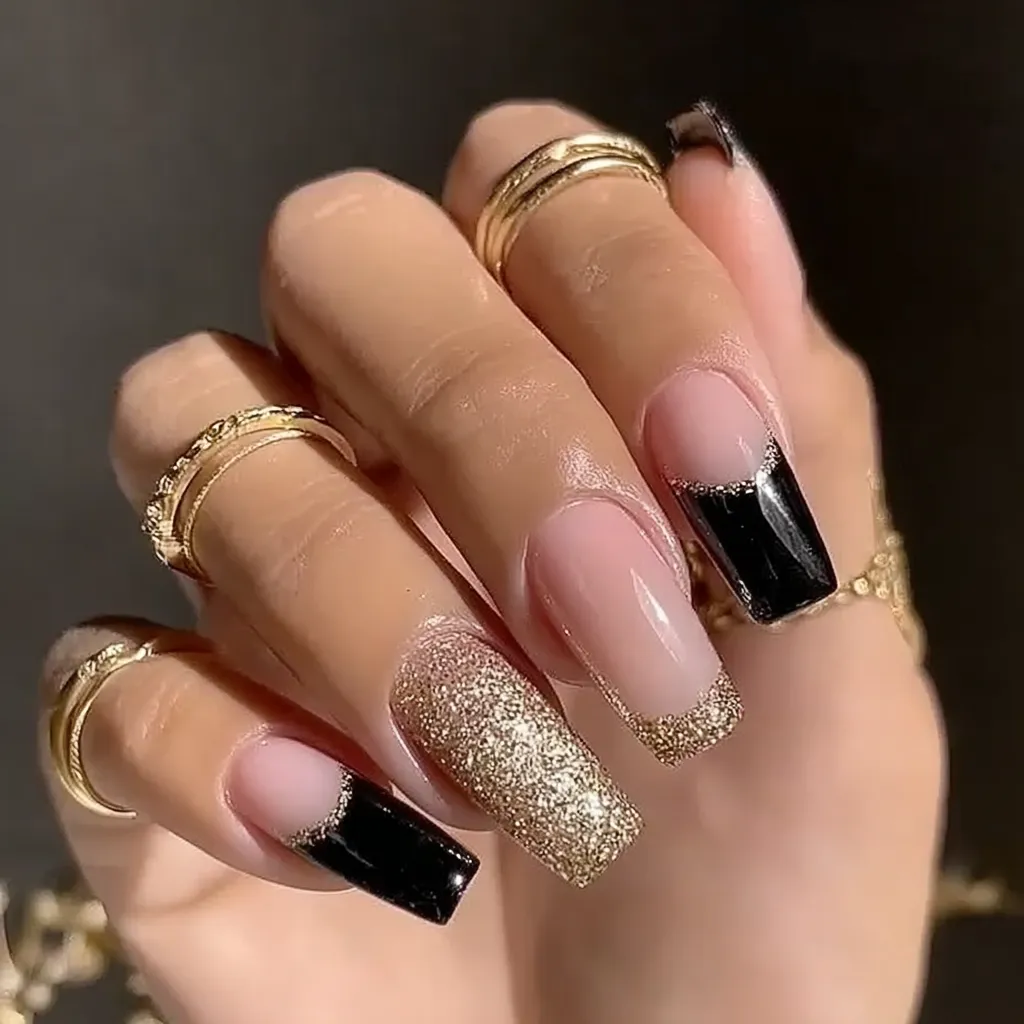
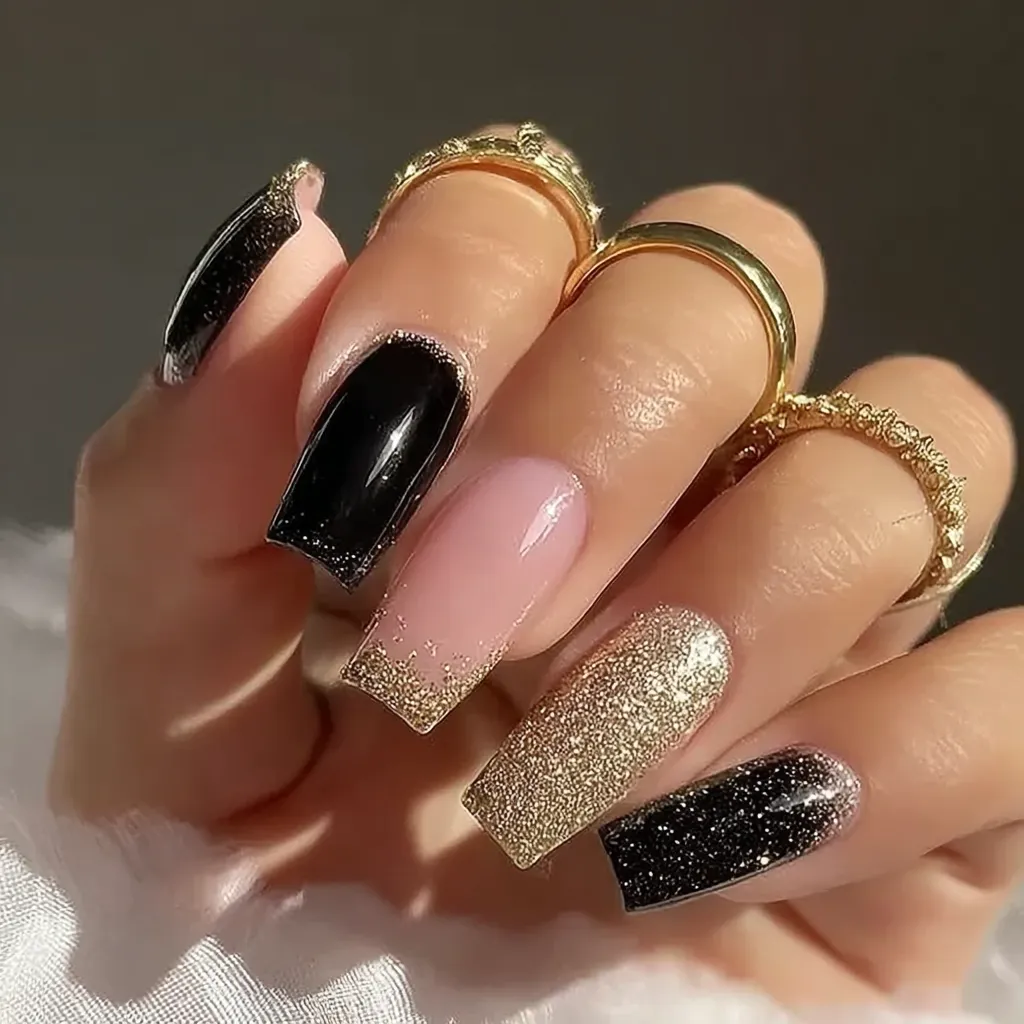
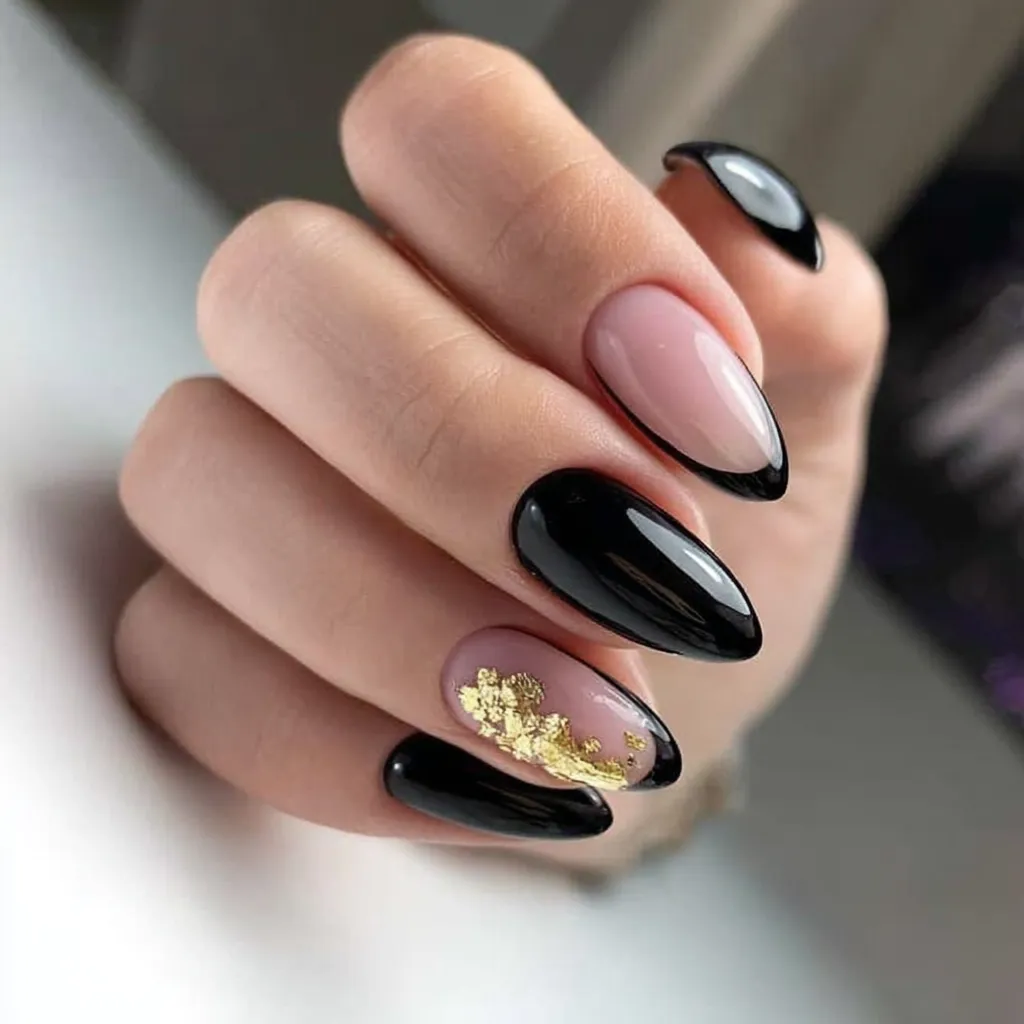
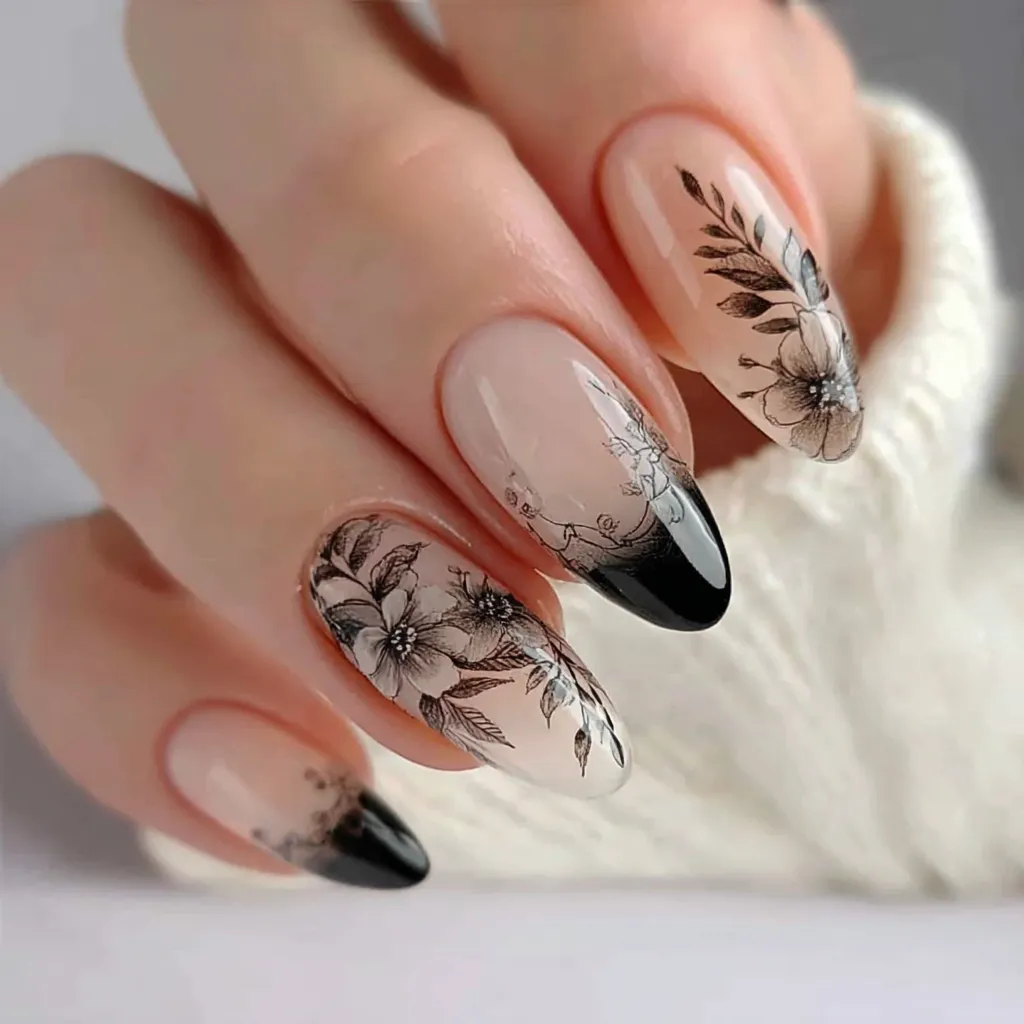
Design Ideas to Personalize Your Black Tip Nails
Add personality to your black tips with these enhancements:
- Minimalist – Thin, precise lines on every nail.
- Chic accents – Add a flash of gold or a dot of rhinestone.
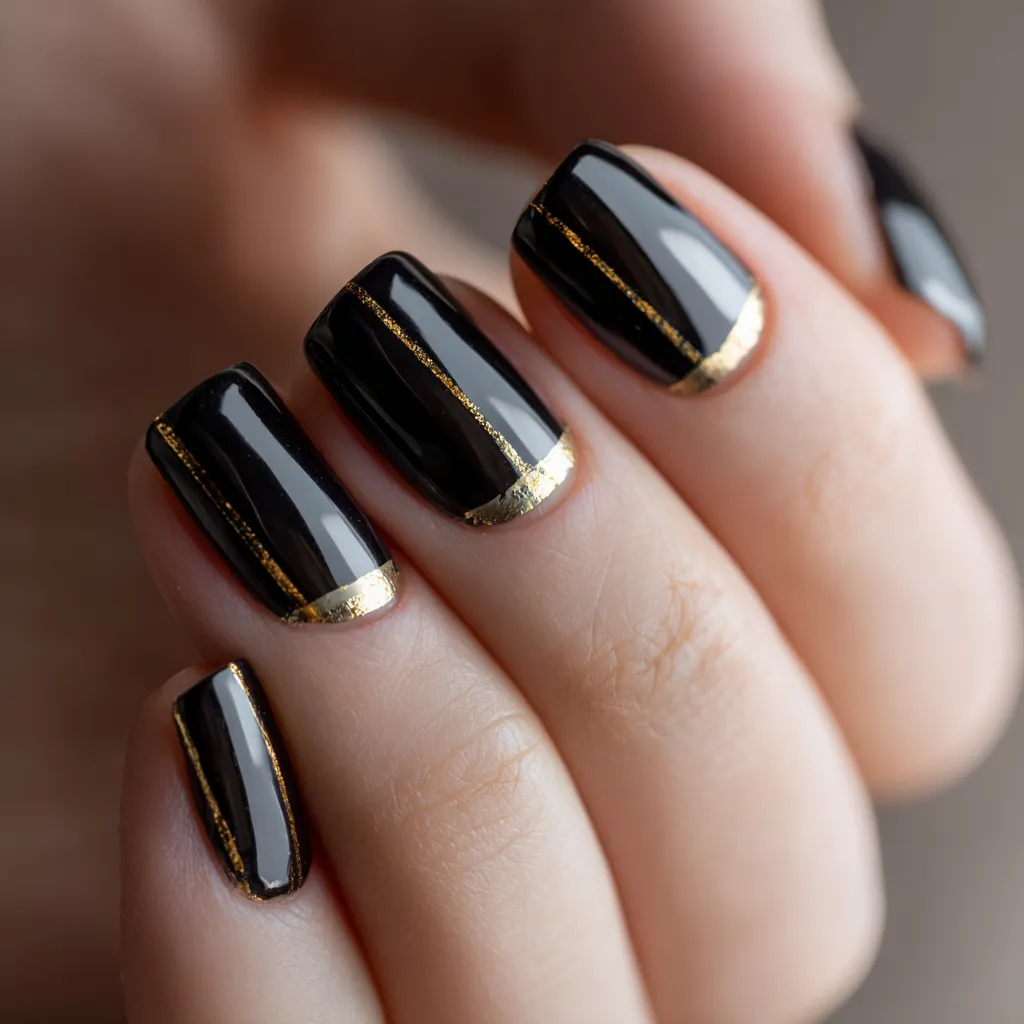
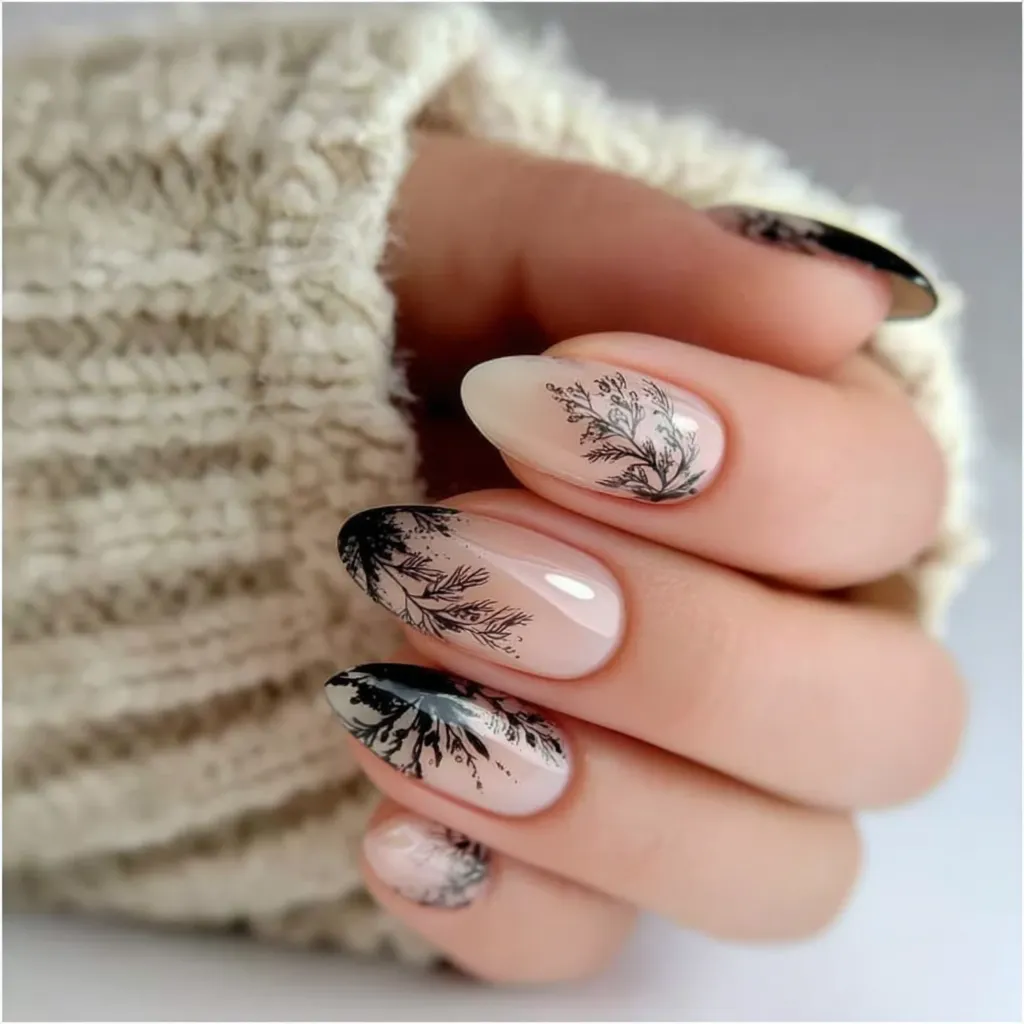
- Artistic touches – Use black with white or metallic lines for contrast.
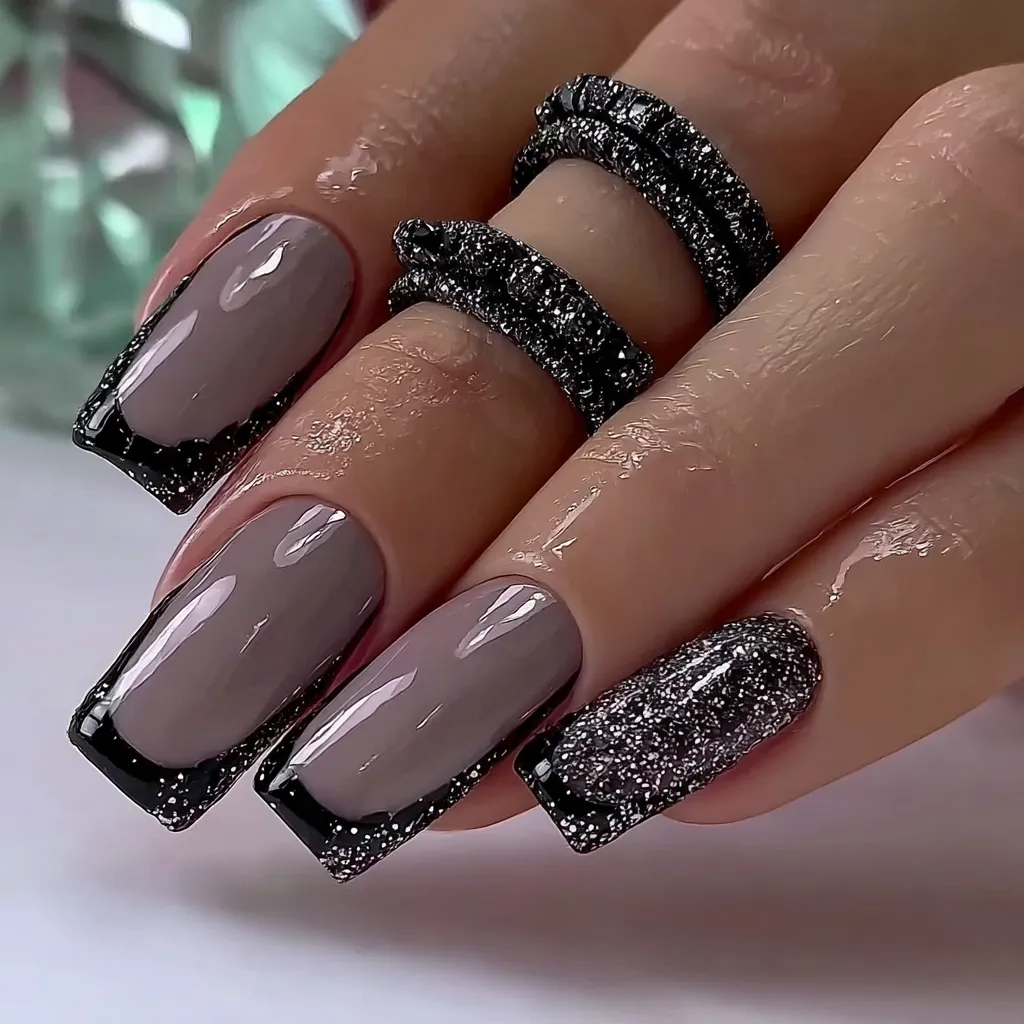
- Textured tips – Black glitter or matte top coats elevate the style.
Nail Shapes That Work Best with Black Tips
Top Choices
- Almond – Gorgeous curves; perfect for curved tips.
- Coffin – Bold and on-trend.
- Square – Clean silhouette for sharp contrasts.
Consider Nail Length
- Short nails – Rock micro-tips or slim lines.
- Long nails – Try expansive tips or layered art.
Maintenance Tips for Long‑Lasting Black Tip Nails
Keep your bold look longer with these care tips:
- Moisturize with cuticle oil every day.
- Reapply a thin top coat every 3–4 days.
- Wear gloves for chores to avoid chips.
- Touch up chips with a fine brush—no complete redo needed.
- Use non-acetone removers to avoid drying nails.
Common Mistakes to Avoid When Doing Black Tip Nails
| Problem | Cause | Fix |
|---|---|---|
| Smudgy black line | Thick polish or impatient strokes | Thin coats and wait between layers |
| White-ish base | No base coat | Always start with a base coat |
| Peeling polish | Skipped edge sealing | Swipe top coat around nail edges |
| Bumpy top coat | Too much polish | Use thin layers and wait to dry |
Frequently Asked Questions (FAQ)
Can I do black tip nails on short nails?
Yes! Go for fine or angled lines to suit shorter nail beds beautifully.
How do I prevent black polish from smudging?
Use thin coats, allow sufficient drying time, and finish with good top coat.
What nail shape is best for black tips?
Almond, coffin, and square shapes work best; choose based on tip style.
Can I use gel polish for black tips?
Absolutely – gel gives durability, shine, and chip resistance.
Are black tip nails professional enough for work?
Yes – keep the lines crisp and the base neutral for office-appropriate sophistication.
Conclusion: Own Your Bold Black Tip Look
You’ve got everything you need to create striking black tip nails that feel as unique as you are. From prepping and painting to personal tweaks and daily care, every step builds toward a DIY masterpiece. Think of them as wearable confidence, a daily reminder that you’re bold, creative, and never afraid to stand out.