
13 stunning White French Nails: A Step‑by‑Step Guide to Your Flawless French Tip
Why White French Nails Never Go Out of Style
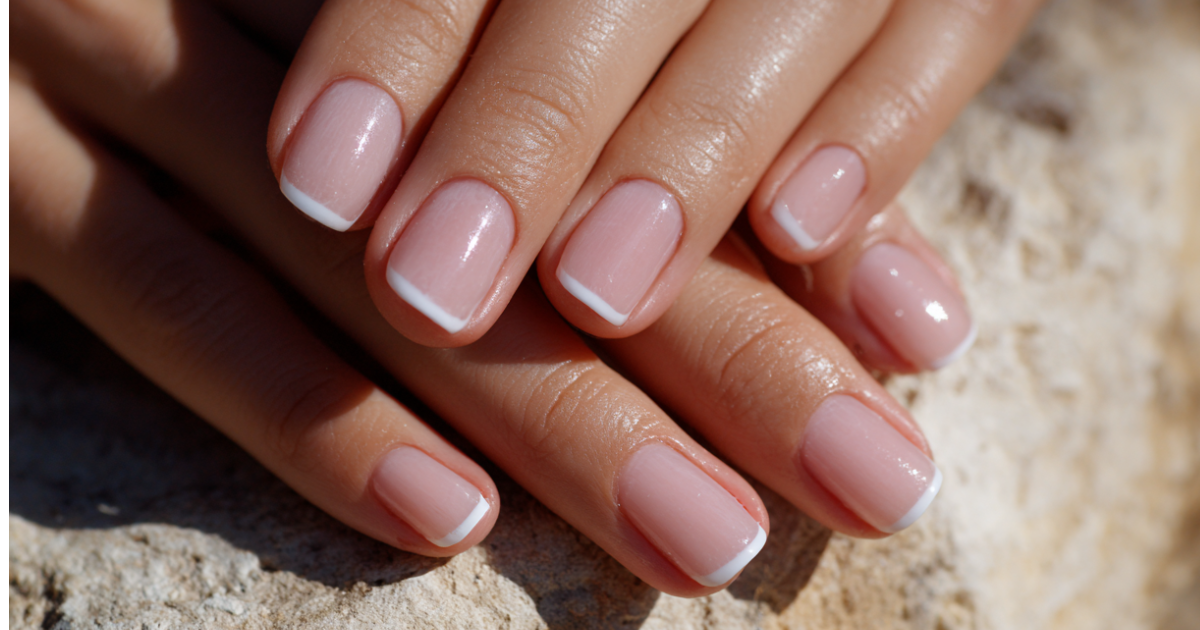
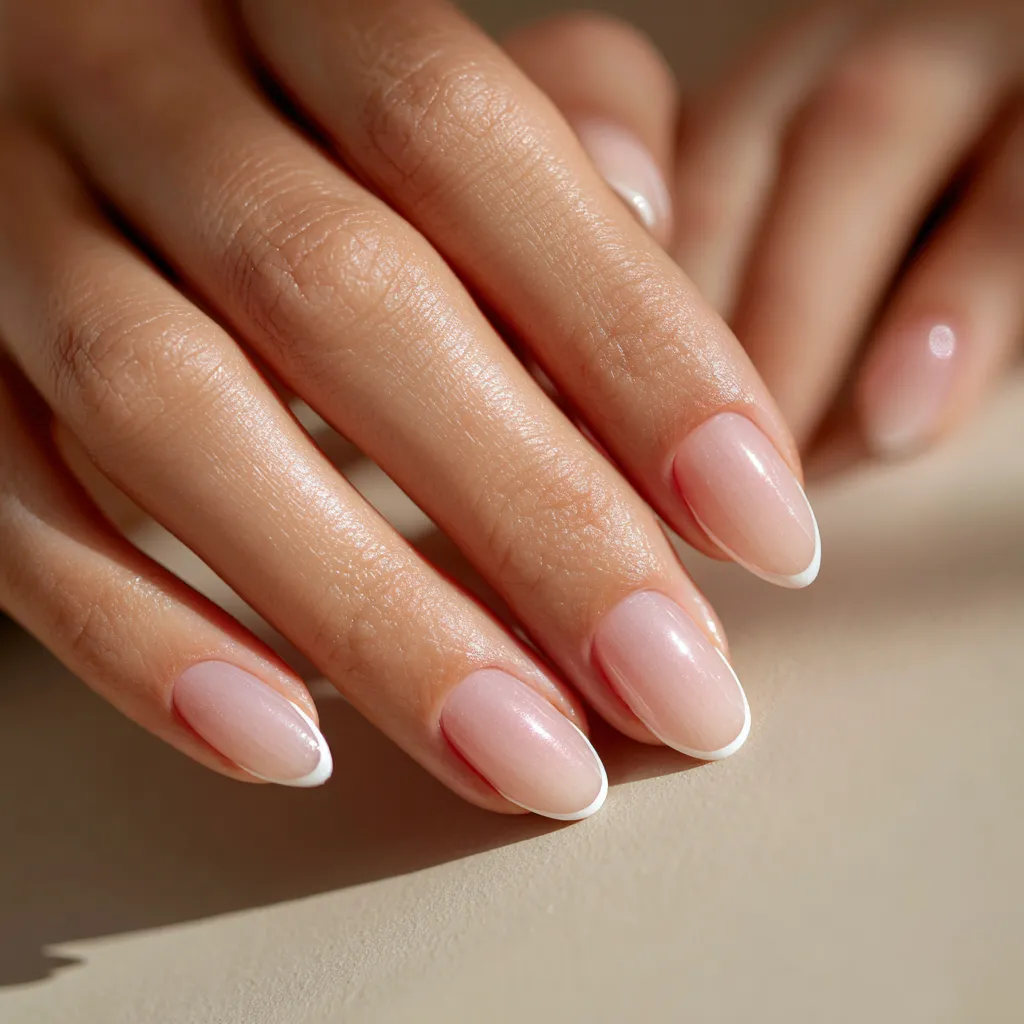
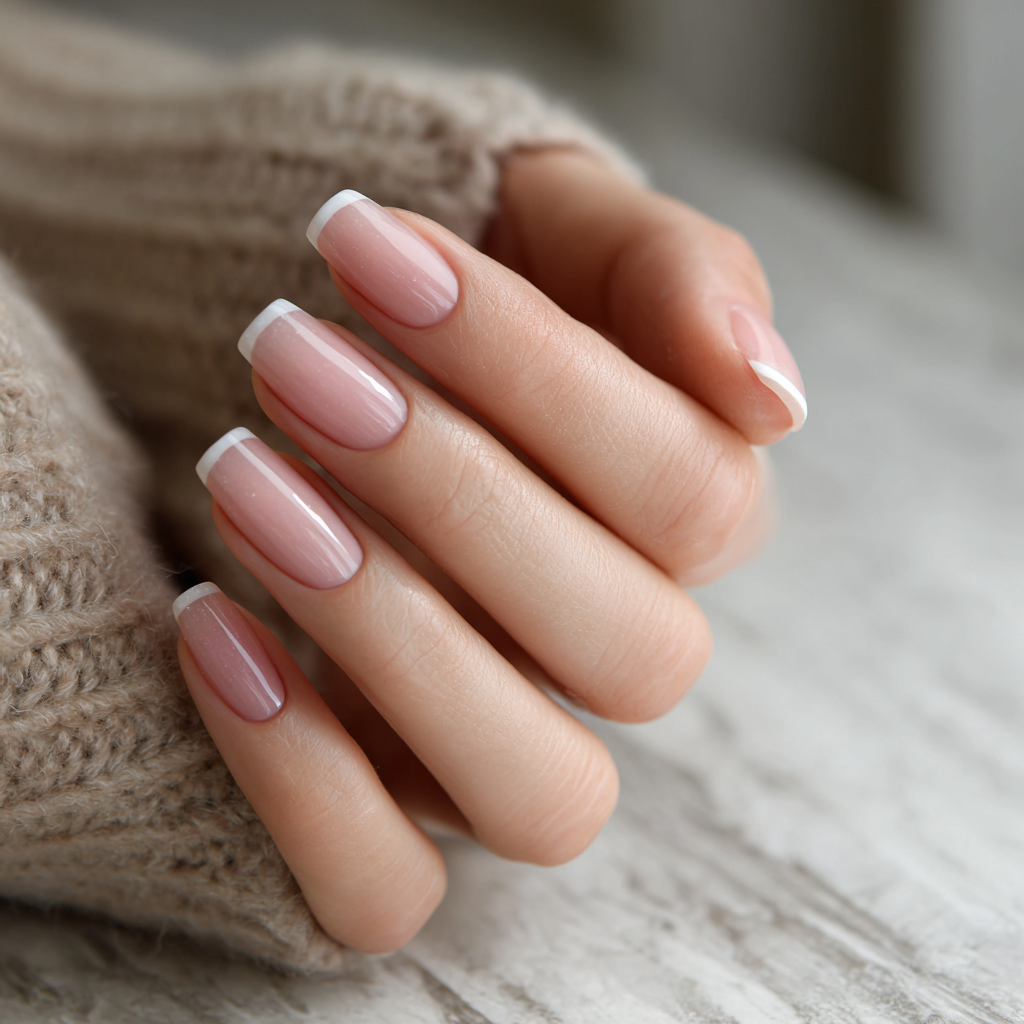
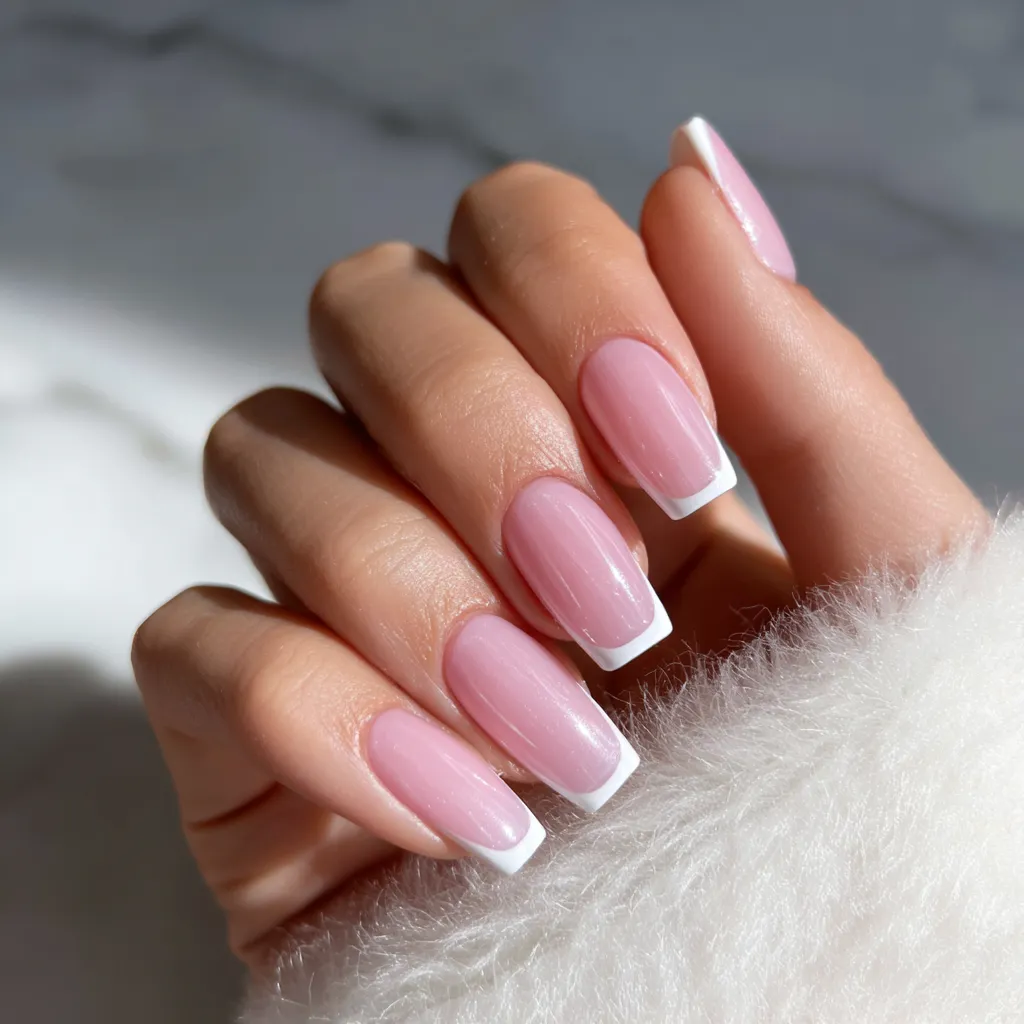
You’ve probably noticed how white French nails exude elegance without being over the top. From weddings to weekend brunches, this look adds a refined polish to any occasion. Maybe you’ve admired it on others, but the thought of replicating it at home feels daunting. Fear not – by the end of this article, you’ll feel confident enough to create salon-quality white French tips yourself, all with affordable tools and clear instructions.
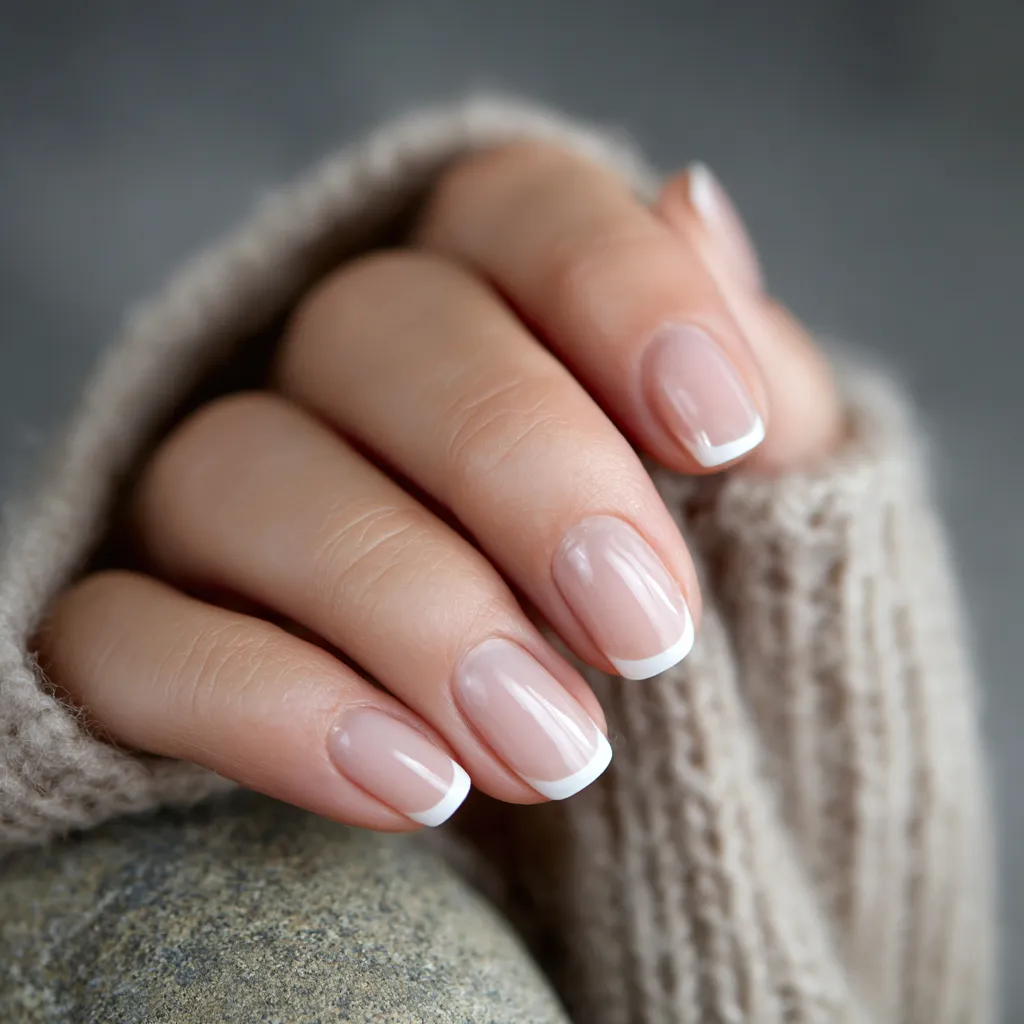
Table of Contents
What Are White French Nails and What Makes Them Timeless?
The Origin of the Classic
White French nails first appeared in the 1970s, coined by Hollywood manicurist Jeff Pink to complement actors’ wardrobes while filming . Since then, they’ve become synonymous with sophistication.
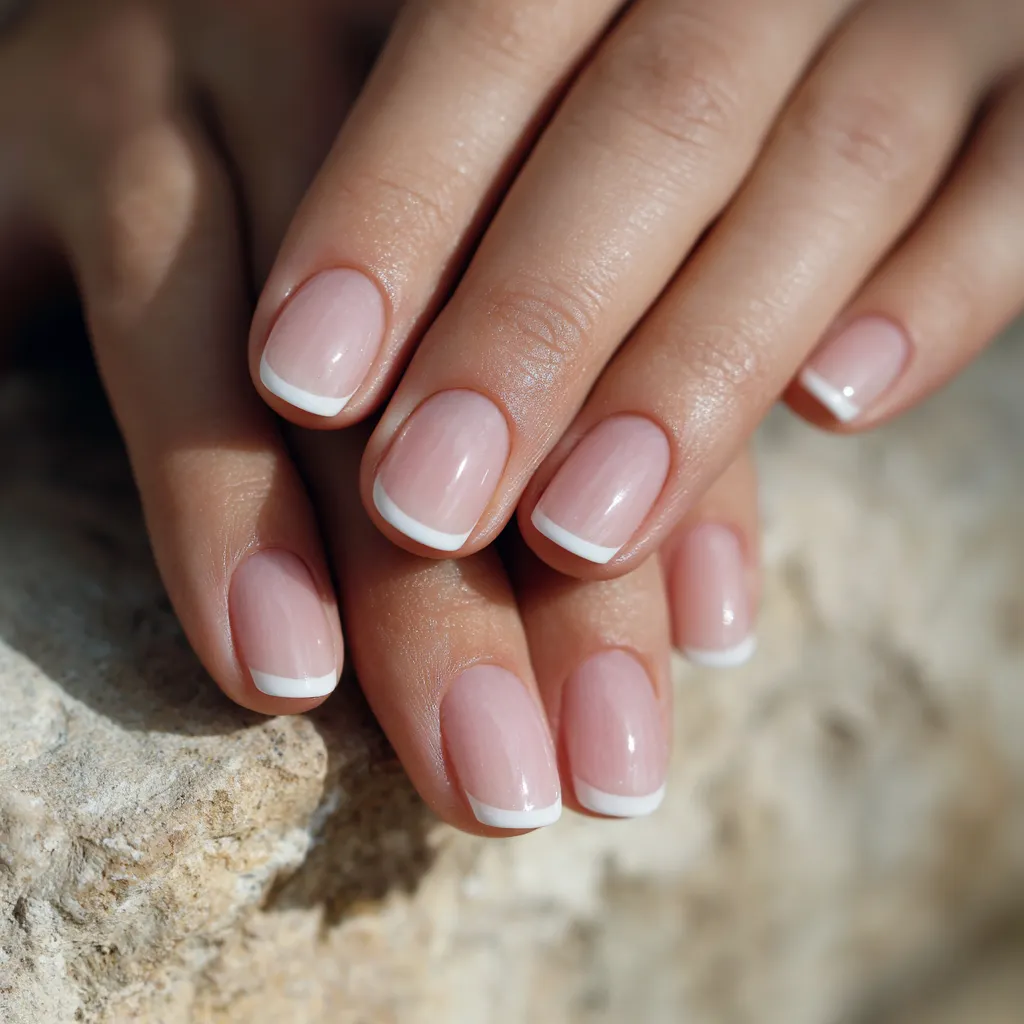
Why the Look Stays Popular
- Universal appeal: Works on all nail lengths, shapes, and skin tones.
- Versatility: From brides to business professionals, this style fits any scenario.
- Minimal upkeep: A few careful coats, and your mani stays fresh-looking for days.
(Keyword note: the phrase “white French nails” is used naturally throughout.)
Tools & Products You’ll Want in Your Kit
Before you begin your white French nails journey, make sure you have these essentials:
- Nail file and buffer – To shape and smooth for that crisp tip.
- Base coat – Helps your tips last longer and protects nails from discoloration.
- Sheer nude or pink polish – Creates the foundation for that classic French look.
- White polish or French tip pen – Choose steady-flow polish or a precision pen.
- Top coat – Adds shine and locks in your design.
- Tip guides or narrow tape (optional) – For ultra-clean curves.
- Clean-up brush and remover – To fix small mistakes.
- Cuticle oil – Maintains healthy nails and polished edges.
Pro tip: Gel polishes can last up to 3 weeks and resist chips more than regular lacquer.
Your Step‑by‑Step Guide to White French Tips
1. Prep Like a Pro
- Remove any old polish with a gentle remover.
- File your nails into your desired shape (almond or oval works best).
- Push back cuticles, buff lightly to smooth the surface.
- Wash hands to remove dust before starting the polish.
2. Apply Base Coat
- Use a thin layer to protect your nails and give polish something to grip.
- Let it dry fully – patience here prevents peeling later.
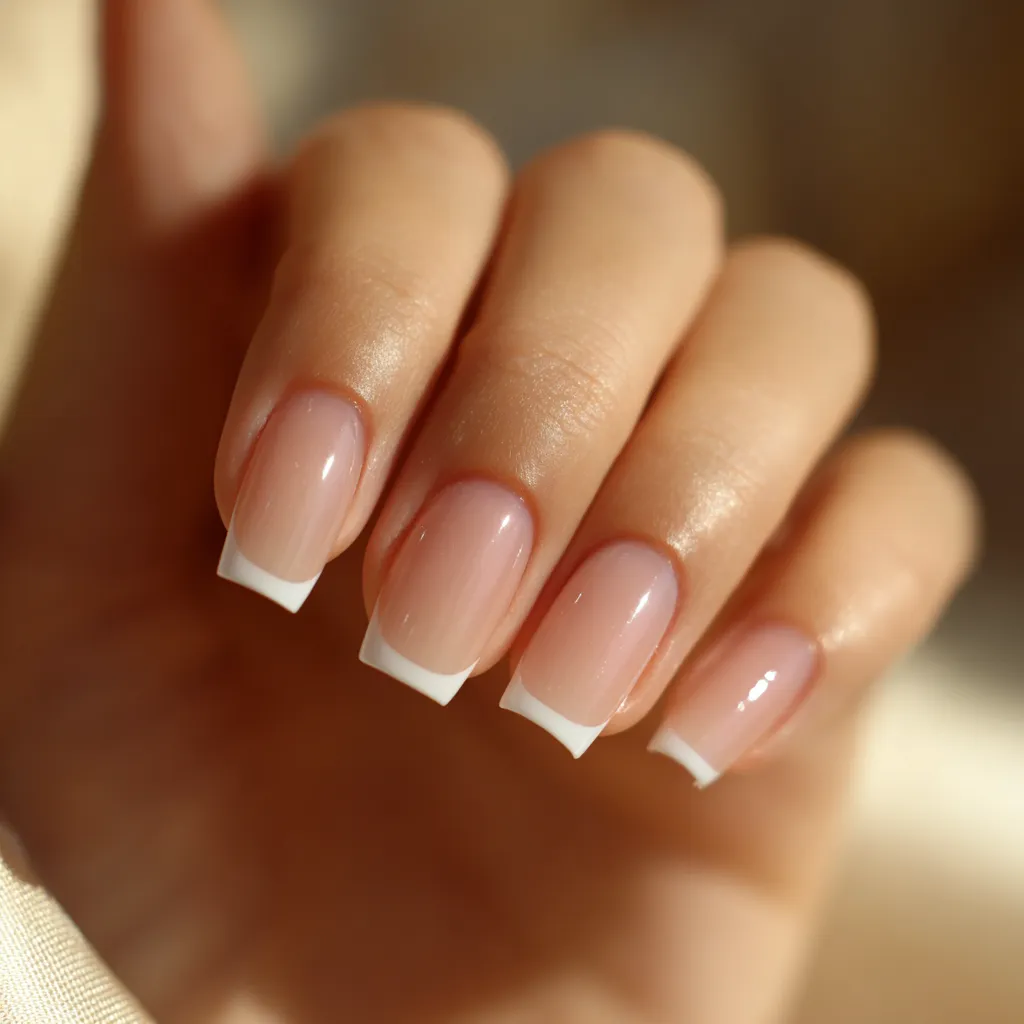
3. Paint the Sheer Nude Layer
- Apply one or two thin coats, depending on opacity.
- Let each coat dry completely, which ensures your white tip stands out cleanly.
4. Master the White Tip
You have two options:
a) Tape or sticker guides
- Place them about ⅛ inch from your nail tip.
- Paint the exposed tip using white polish or a pen.
- Lift guides while wet for a razor-sharp line.
b) Freehand method
- Use a thin brush or pen; steady your hand on a table.
- Move from side to side in one stroke for the evenest result.
5. Clean Up Imperfections
- Wrap a flat brush in remover and gently swipe under the white curve to sharpen edges.
- Wipe away any spill-over on skin.
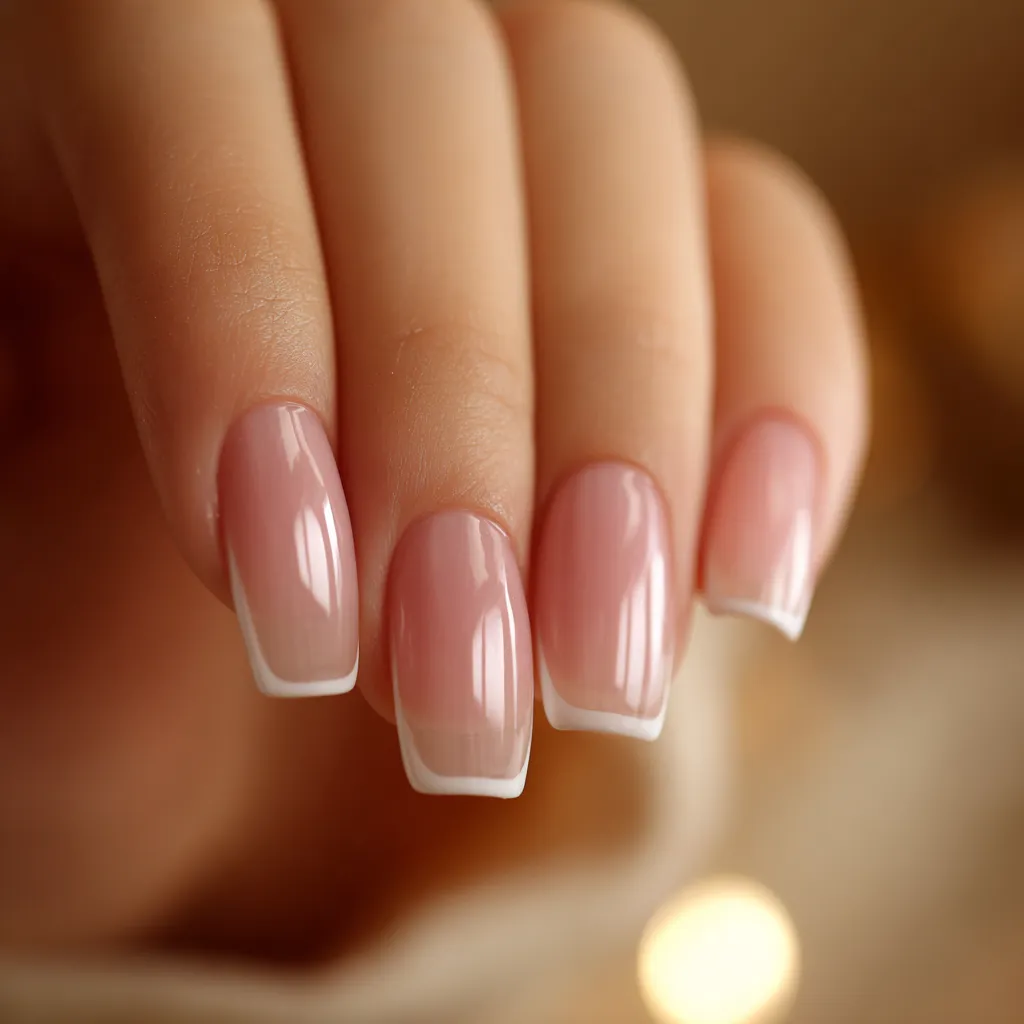
6. Seal with Top Coat
- Apply a generous top coat to blend colors and add that glassy shine.
- Wait until it’s dry to touch before moving hands around.
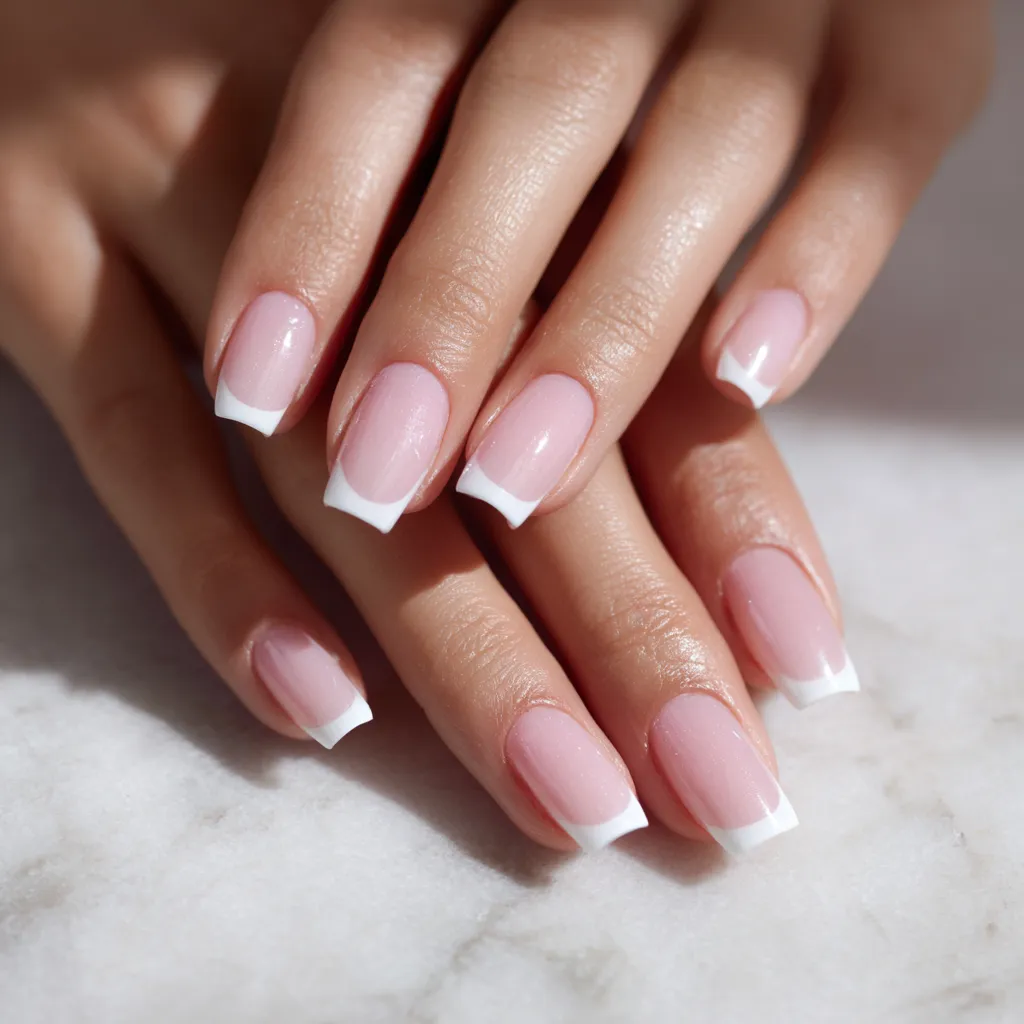
Ideas to Customize & Elevate Your Look
Still craving more? Here are ways you can make your white French nails uniquely yours:
- Gold or silver glitter accents: Add a moon or outline to one or two nails.
- Matte finish: After top coat dries, add matte polish on top.
- Nail art details: Try minimal hearts, dots, or even flower petals near the tip.
- Reverse French tips: Paint the tip white but leave the cuticle area nude or pink.
- Add rhinestones: A single crystal on each ring finger adds instant luxe.
Pro Tips for Nails That Last
- Moisturize daily – Cuticle oil keeps nails flexible, reducing cracks.
- Wear gloves for chores – Protects from dish soap and cleaning chemicals.
- Refresh the top coat after 3–5 days – Maintains that crisp finish.
- File chips smooth, don’t peel – Peeling can lift whole sections of polish.
- Use non-acetone remover – Gentle on nails, especially colored ones.
Common Mistakes & How to Avoid Them
| Issue | Cause | Solution |
|---|---|---|
| Uneven white edge | Uneven paint or shaky hand | Use guides or steady brush on table |
| White bleed | Thick strokes | Thin coats, cure between layers |
| Tip peeling quickly | No base or top coat | Always apply both, file edges afterward |
| Bubbles on finish | Thick polish or moving hands too early | Thin layers, wait 2–3 min between coats |
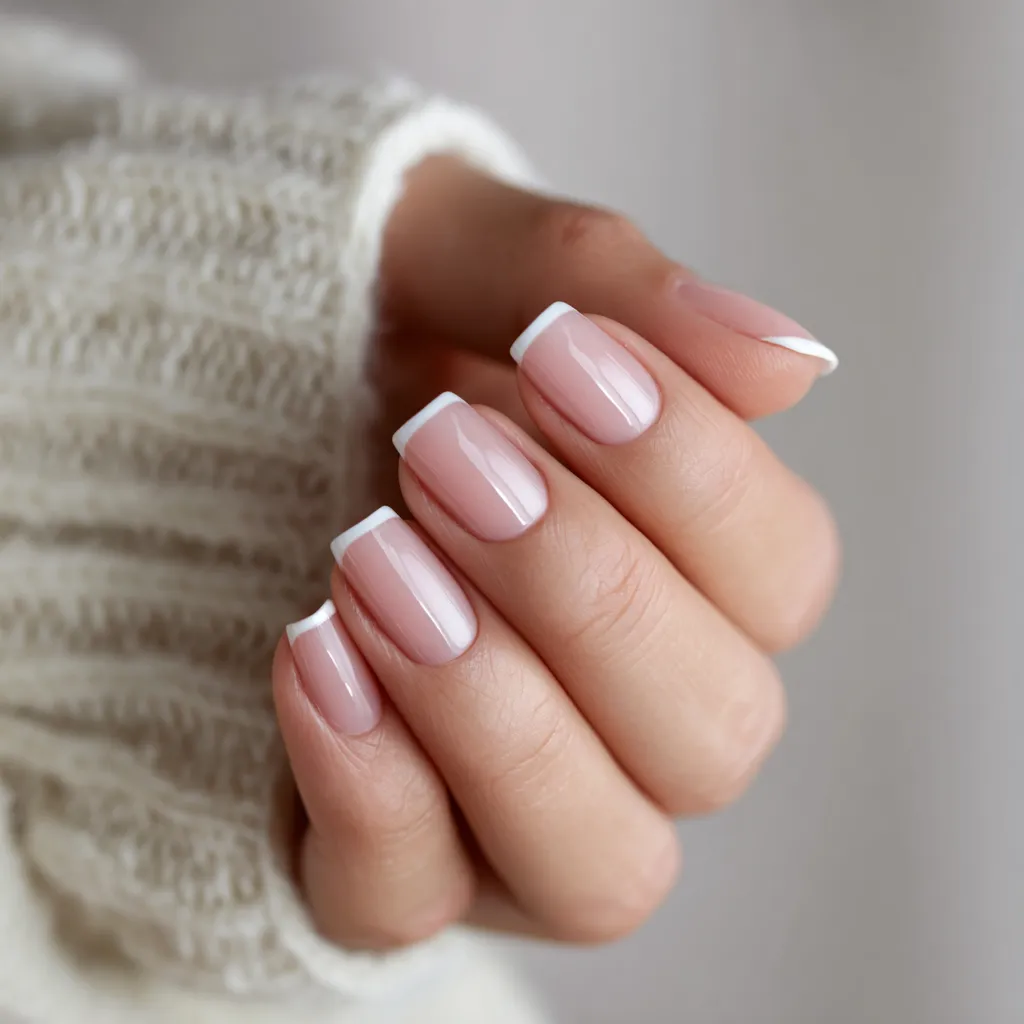
Pairing Nail Shapes with Your Style
The right shape highlights your white French nails beautifully:
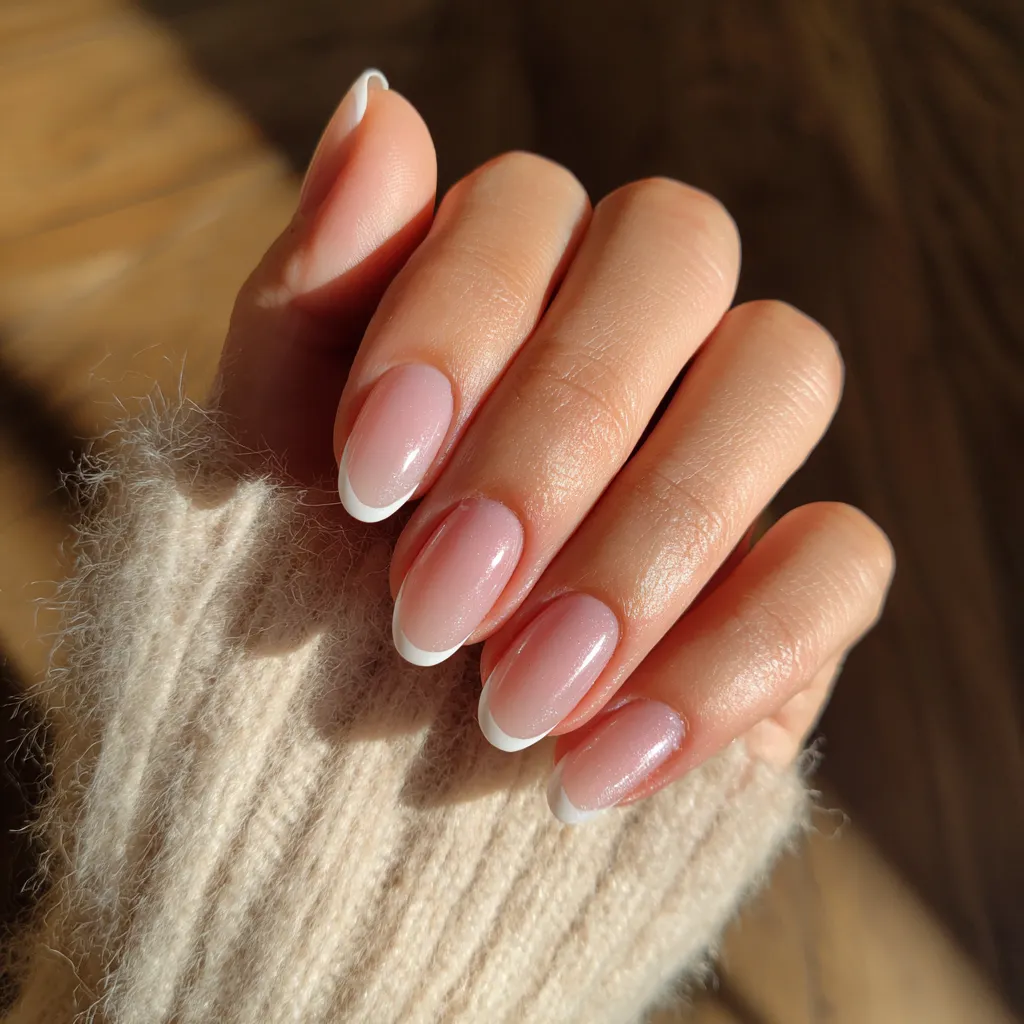
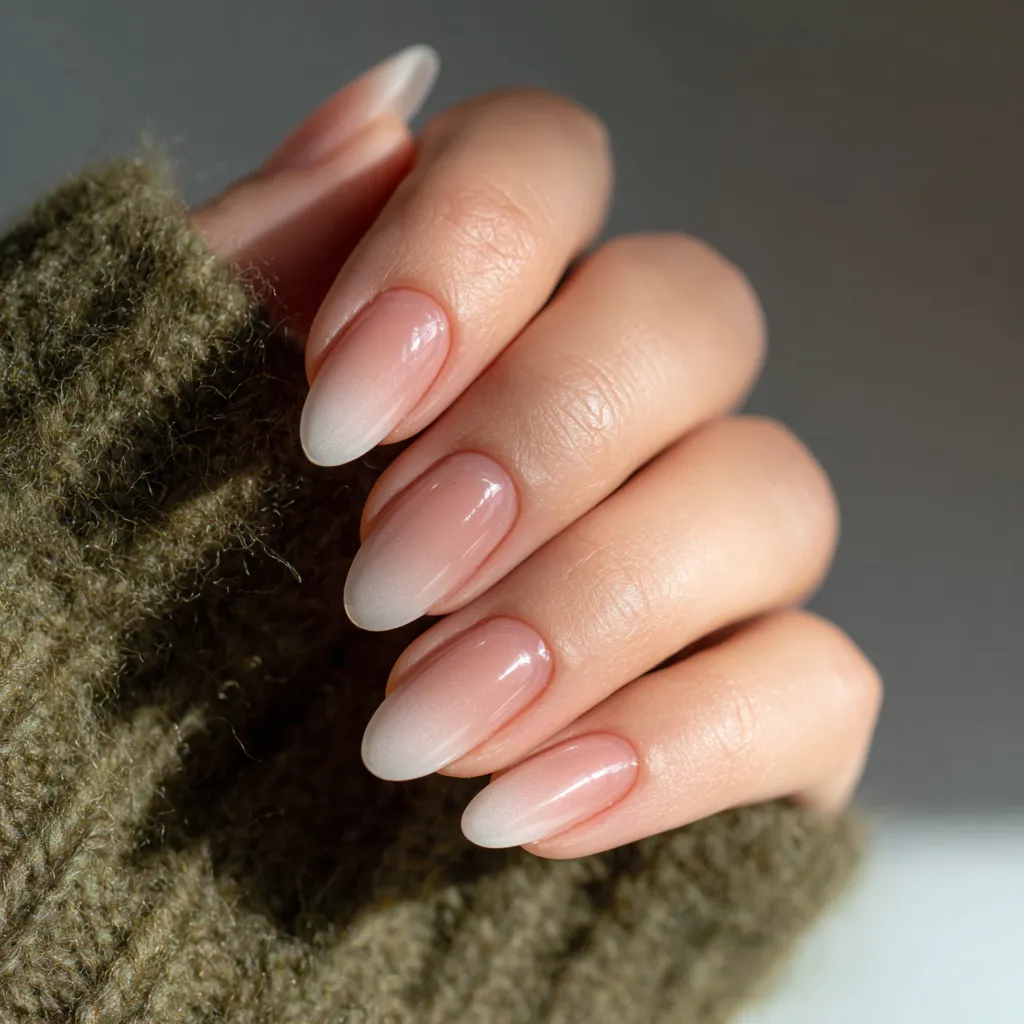
Almond & Oval – Create an elegant, elongated look.
Squoval (square-oval) – Modern yet classy, balances pointy tips.

Coffin – Edgy, trendy, and roomier for detailed art.
Avoid:
- Stiletto – the tip can look overly dramatic and hard to maintain.
- Very short square – limits the area for the white line.
FAQ: Your Questions Answered
How long will my white French nails last?
- Regular polish: about 5–7 days with good care. Gel lasts up to 3 weeks.
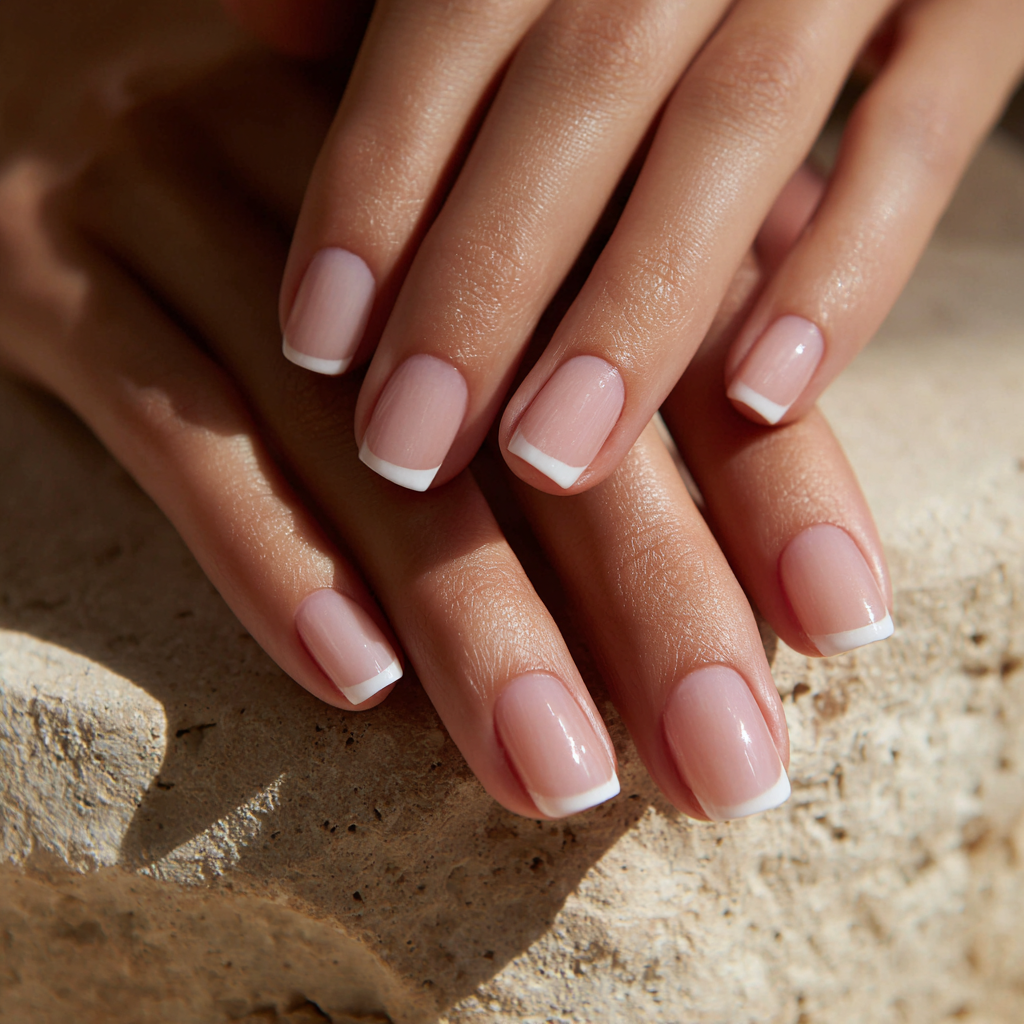
Can you do white French nails on short nails?
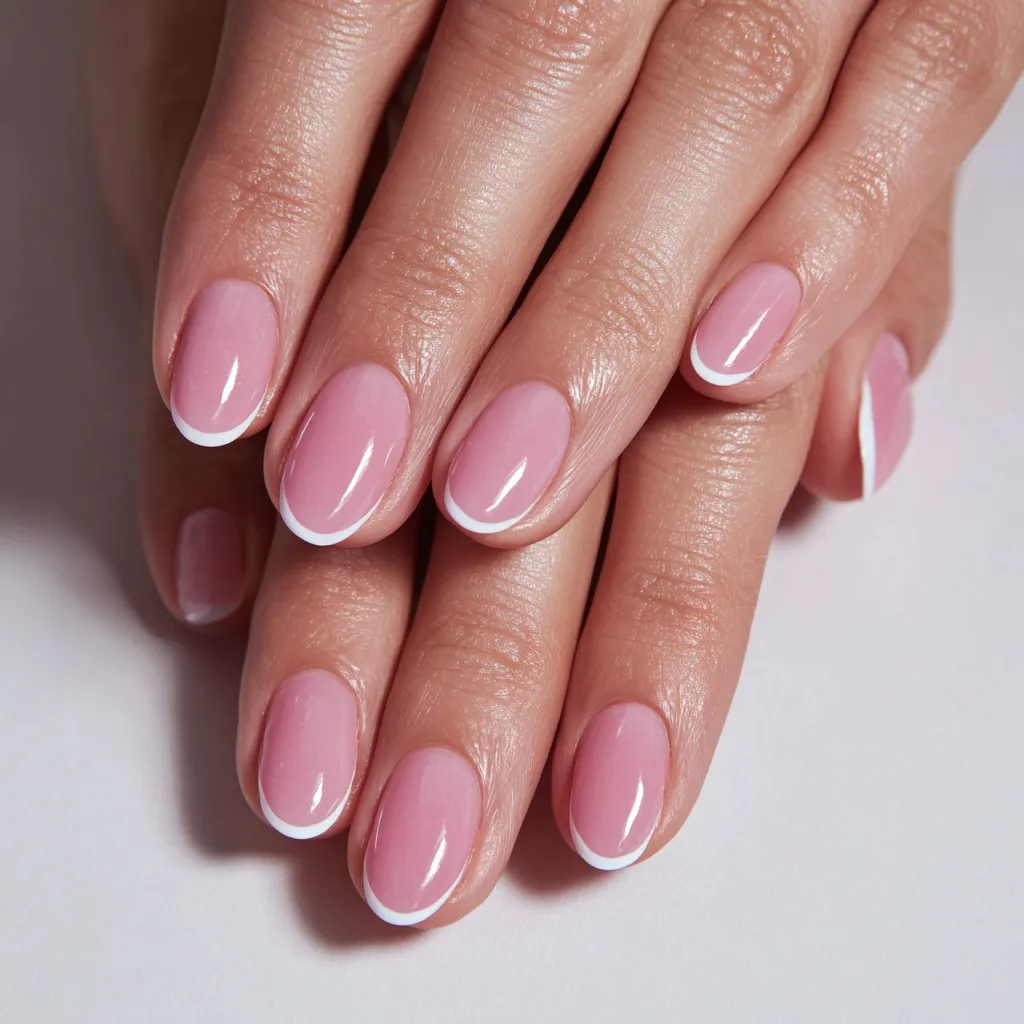
- Absolutely. Just make the white line thinner to suit your nail bed.
What’s the best polish for a natural look?
- Sheer pinks like Essie’s Ballet Slippers combined with a crisp white like Blanc are classics.
Are press-on white French nails a good alternative?
- Yes! They’re beginner-friendly and come in pre-shaped sizes. Great for a quick fix.
How do I prevent the tips from chipping fast?
- Use quality base and top coats, apply extra seal to the free edge, keep them moisturized, and wear gloves.
Sealing the Deal: Your Confident White French Finish
There you have it – a full guide to crafting your white French nails with confidence and polish. You’ve learned prep, painting, setting, and even pro tips to make them last. It’s more than a mani; it’s confidence you carry in every handshake or casual touch.
Now, go ahead and give it a try:
- Gather your kit.
- Follow each step carefully.
- Enjoy the quiet satisfaction of a salon-quality manicure – made by you.
Let’s Hear from You!
Have you tried these steps yet? Want to share your nail art photos, tweaks, or tips? Drop them in the comments below — I’d love to hear about your journey to perfect white French nails, and I’m happy to help with any questions you run into.
Start your flawless look today — with the right guide, tools, and a bit of practice, you’re just a few coats away from polished perfection!